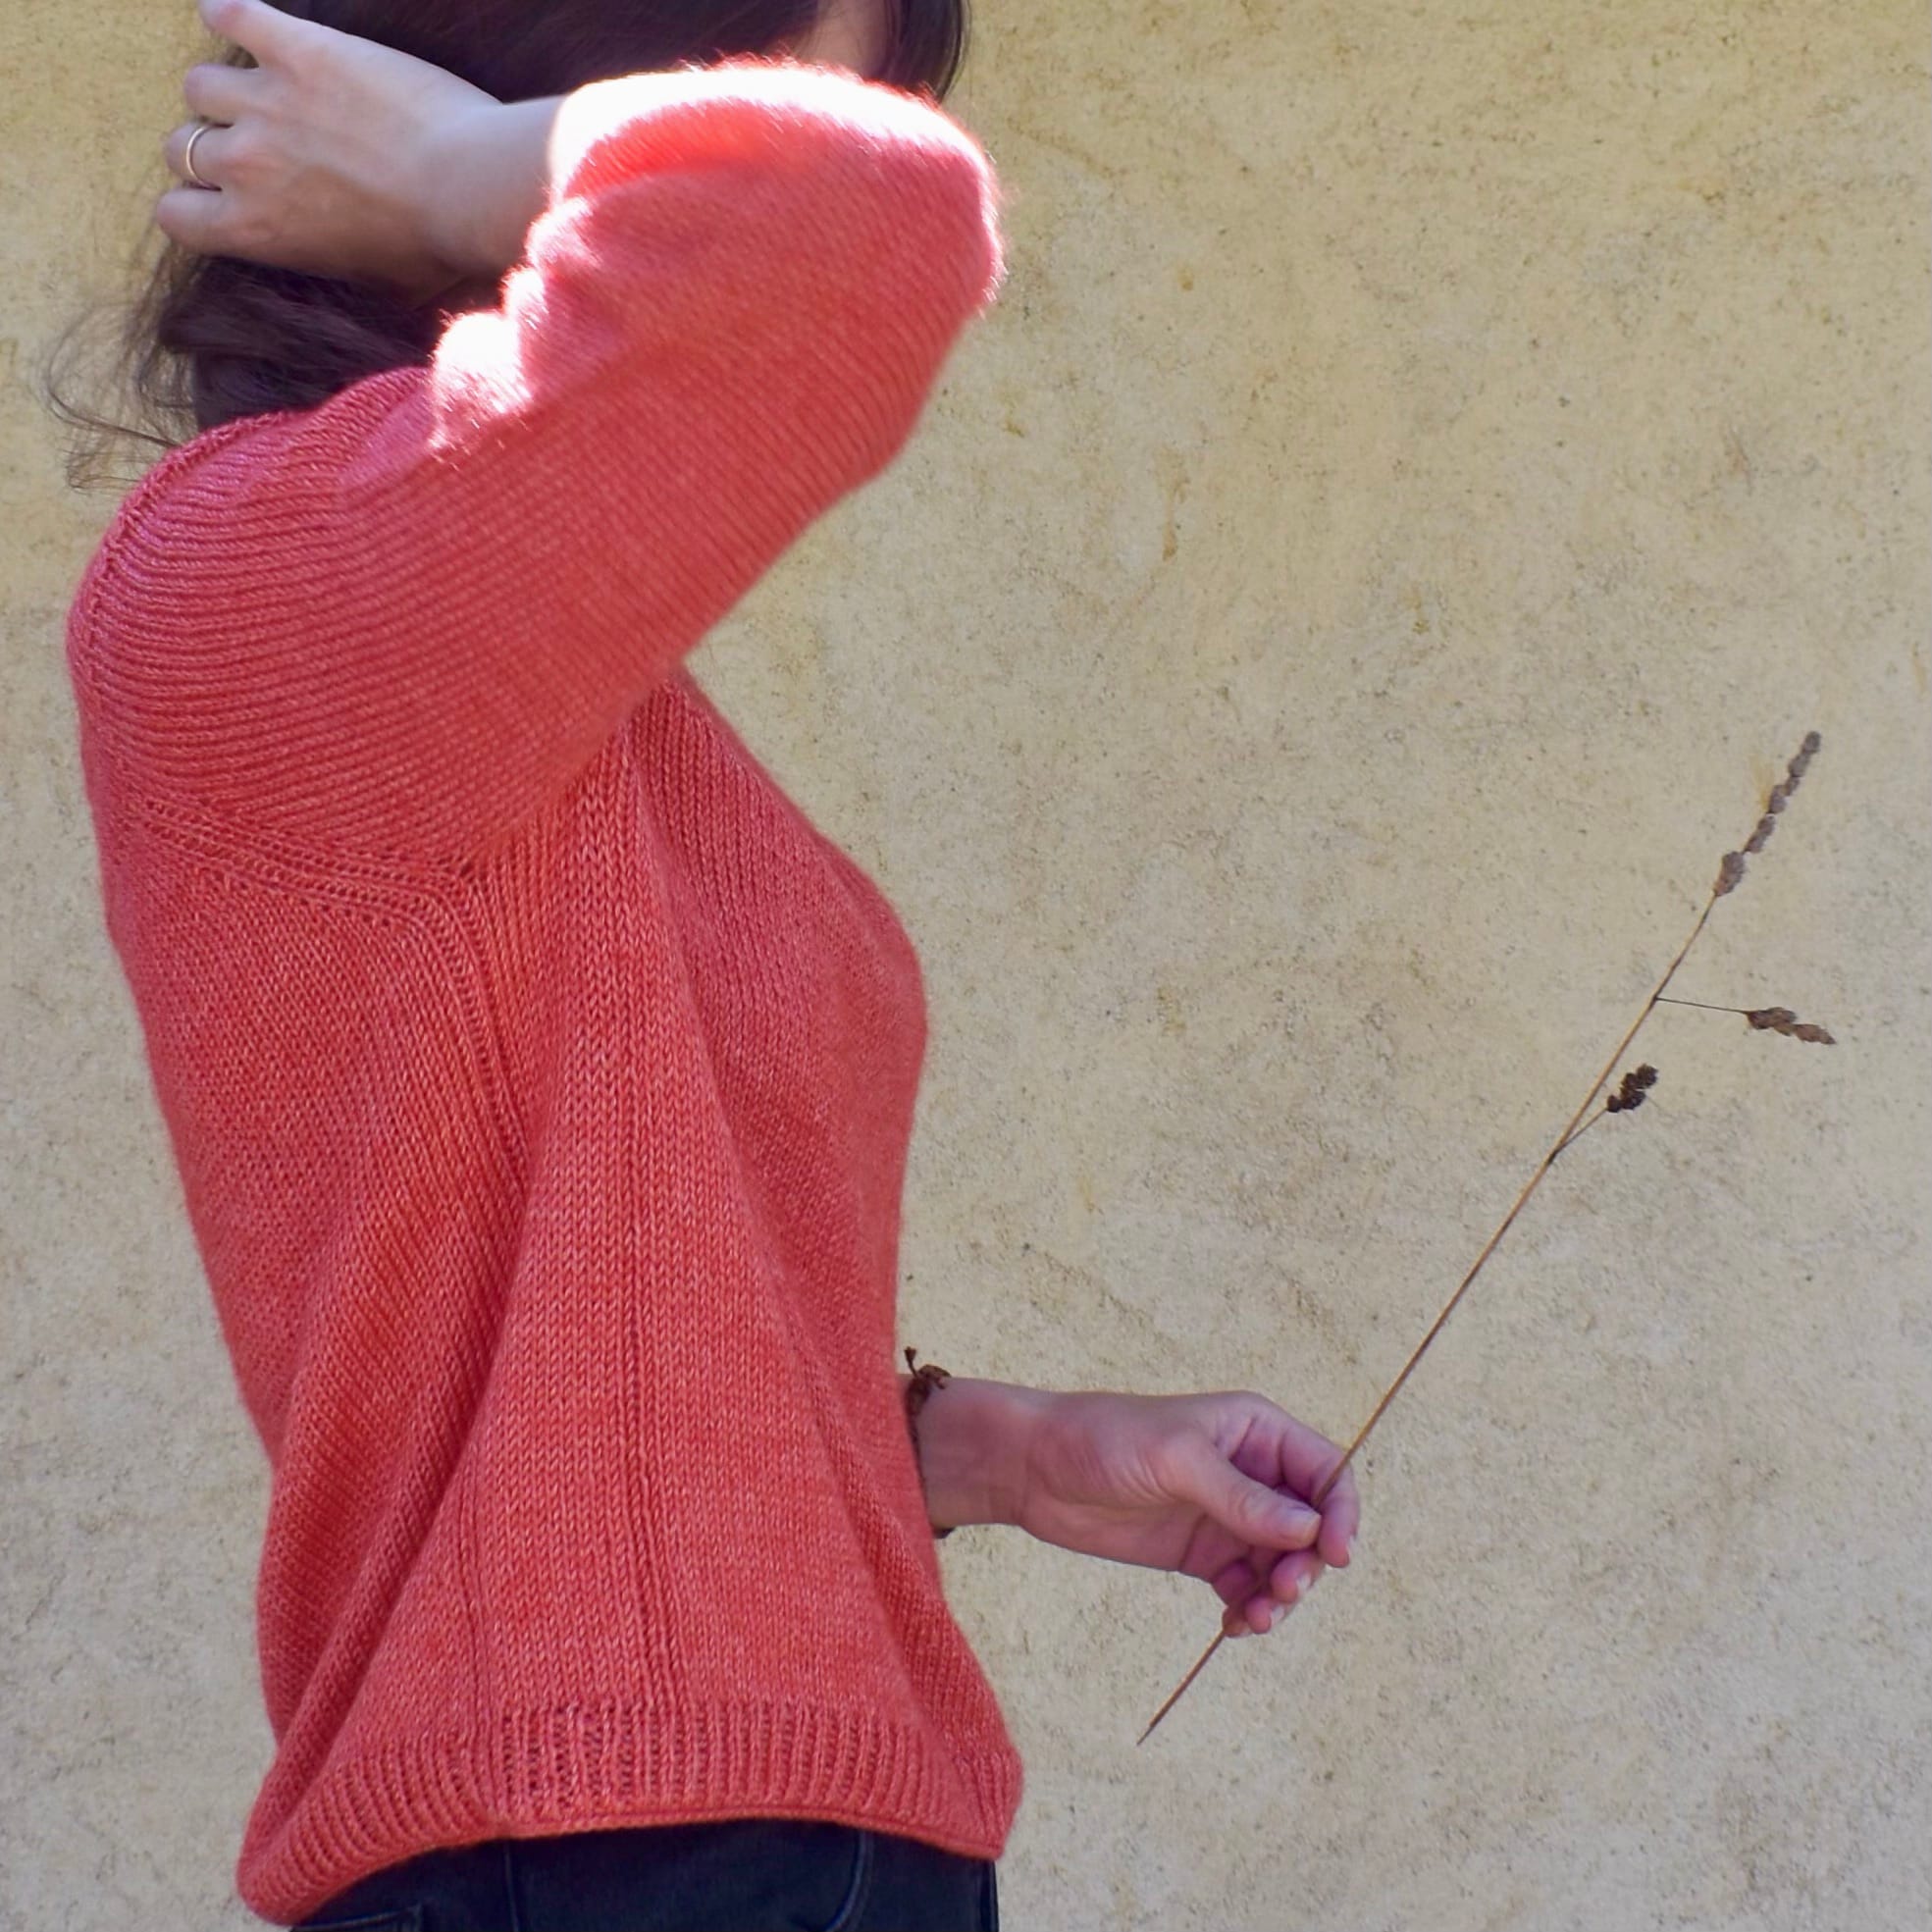
Anker's tee - watermelon edition
Chronicle of how I made a watermelon coloured Anker's tee by PetiteKnit with West Yorkshire Spinners Elements yarn
So what's the story behind this knit you might ask yourself with an undisguised enthusiasm (at least) ?
Well, this adventure begins with another story:
I've been completely immersed in another knit : the poetry (not the poet or poetria) pattern by Sari Nordlund and I chose a bamboo yarn to knit it with. I'll probably make this one a dedicated post so I won't go into too much details.
Let me just say that it is all over lace and to get the fabric that I liked, I needed to knit it with 3mm / US 2.5 needles. That makes the rounds like 400+ stitches with a yarn without much elasticity which isn't ideal.
Unfortunately, I have a nerve injury to my right hand and so at one point of trying to convince myself that I had too much amusement to stop, I knew that I HAD to stop. Like, right now.
Specifications :
Pattern: Anker's Summer Shirt by PetiteKnit version 3.0 (2022)
Needles & yarn
Needle(s) used :
- 4.0mm / US 6 - Body
- 3.5mm / US 4 - Ribbing
- 2.5mm / US 1.5 - Bind off
Yarn: West Yorkshire Spinners Elements DK
Yarn consumption : 6.72 skeins - 752.6 meters / 823.2 yards - 336 grams
Colorway: 1145 Watermelon
My gauge: for a 10x10cm / 4" stockinette square blocked
22 sts & 30 rows with 4.0mm / US 6 needles
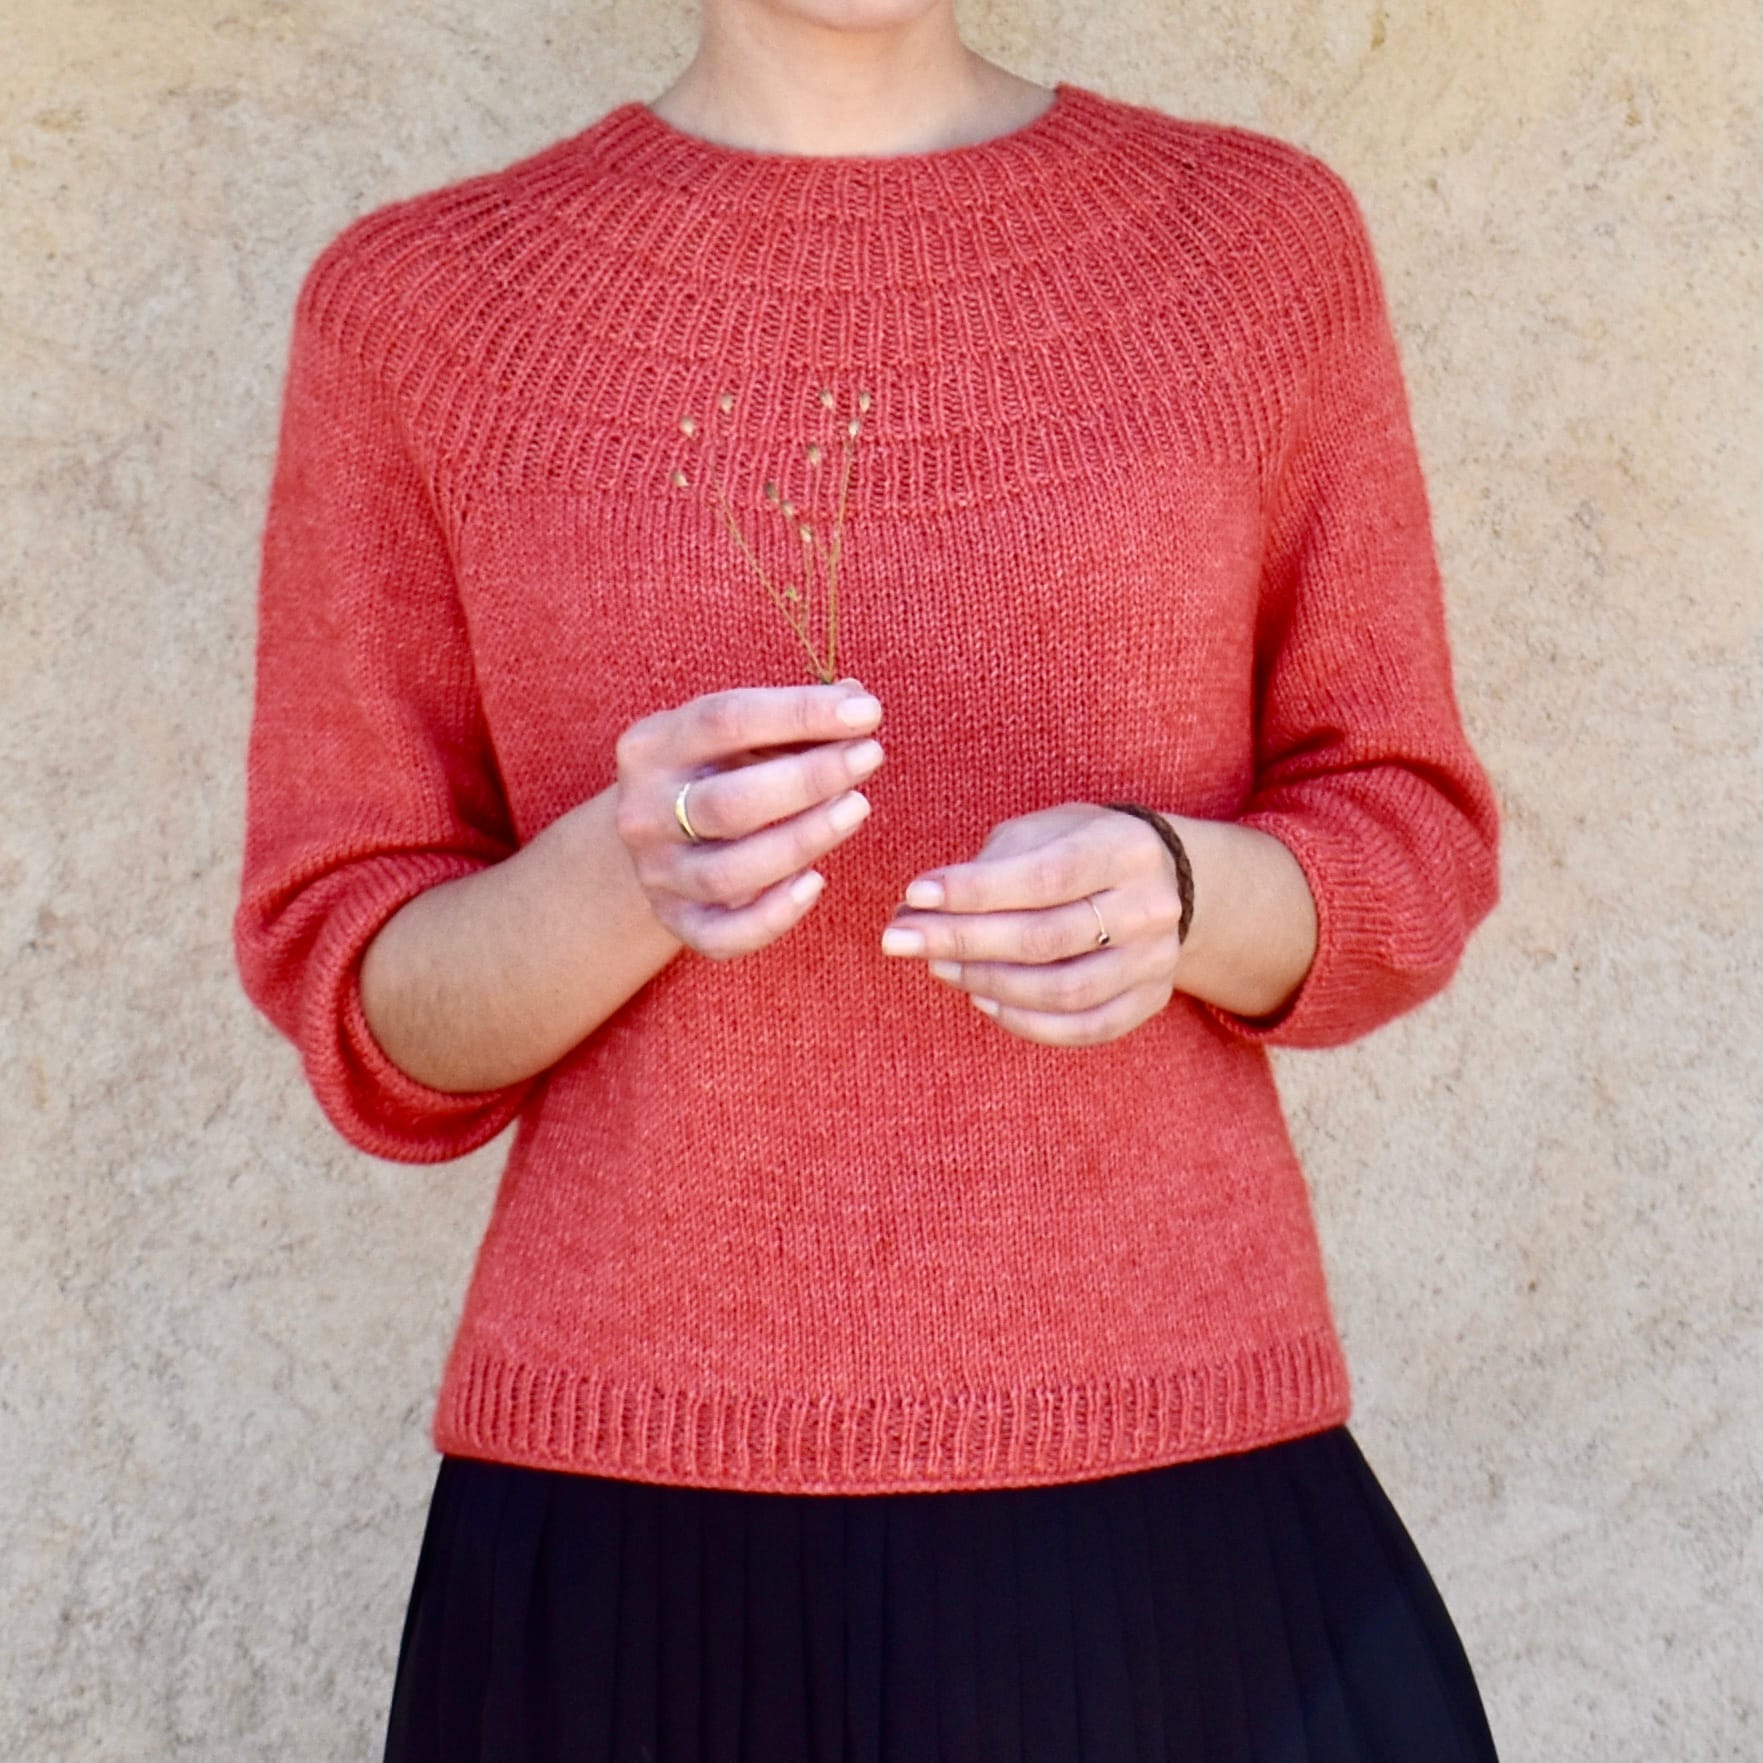
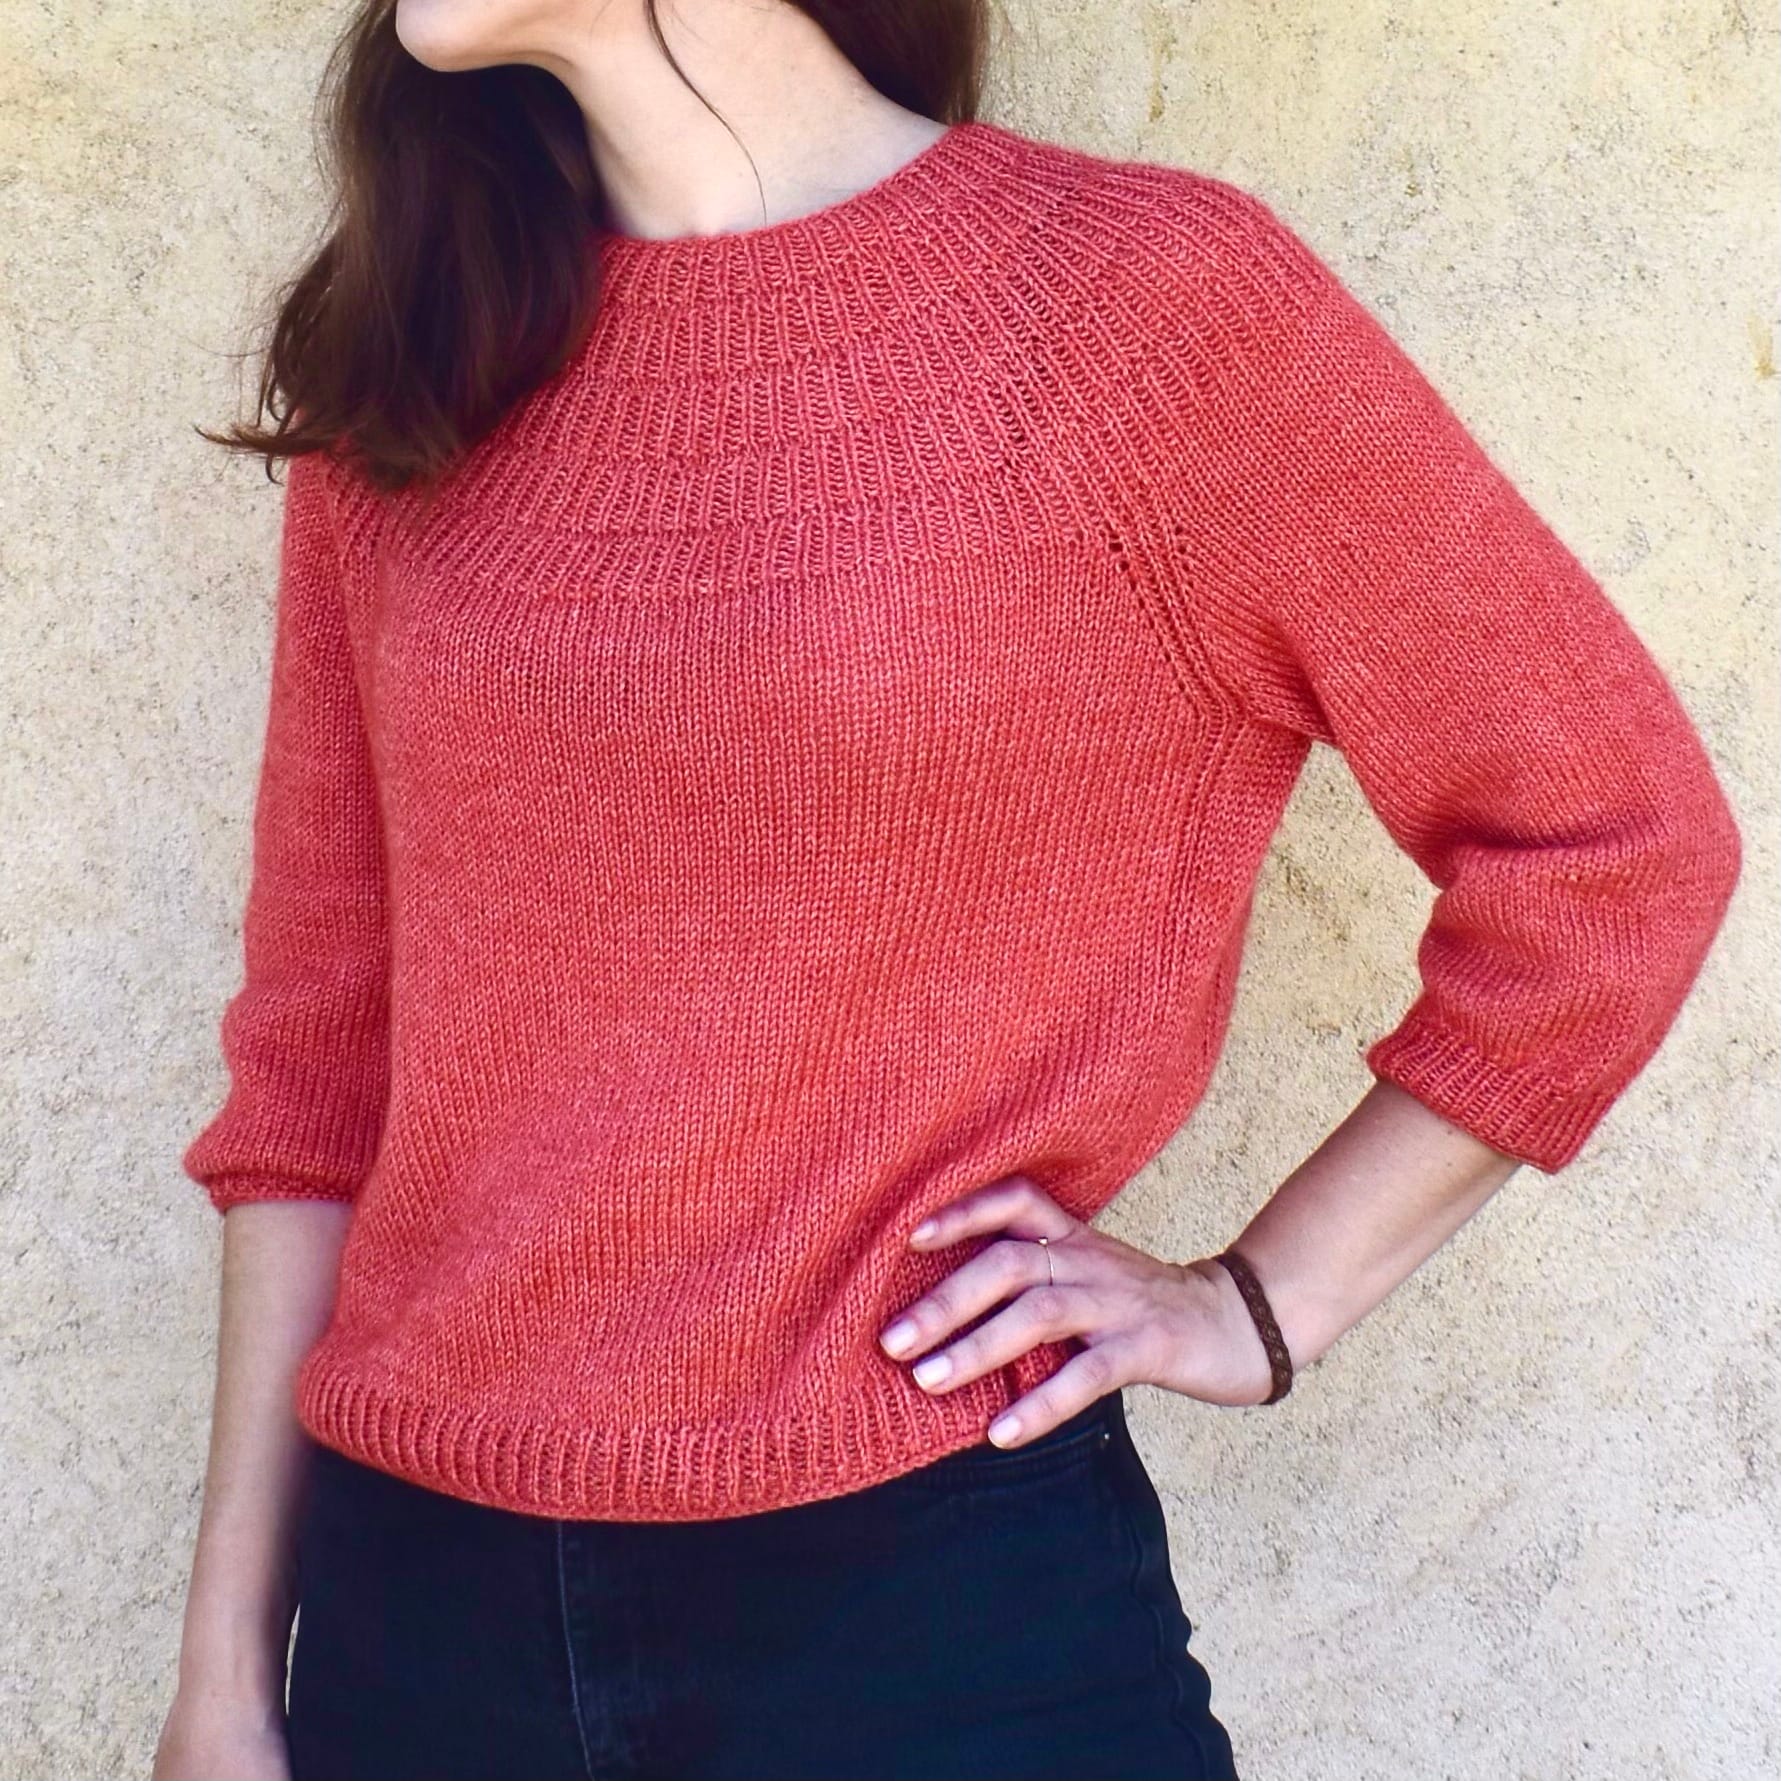
Anker's tee, front and 3/4 views, worn with a black pleated skirt or black pants in front of a light wall covered with lime plaster
Why this pattern ?
Why PetiteKnit ? Everybody knits PetiteKnit ! Enough with the Sophie scarfs !
That's true.
But I wanted something pretty mindless and I see these patterns as perfect doodles. The only time that I really follow a pattern is when I test knit something. When I knit for myself it seems that I like to modify things just because it makes me happier to try and experiment. Sometimes it goes well, sometimes it fails miserably, but I'm learning something new every time.
The Anker tee always felt interesting to me : I love how minimalistic it looks. I really like when the ribbing is thought into the whole design more than something that you add just to be able to stretch the fabric so that it fits. The idea of this ribbing that extends into the yoke seemed very attractive to me.
What did I change?
This garment can be considered as a sibling to PetiteKnit's one. I didn't change that much things, but I can't say that you would end up with the same sweater than me if you followed the original pattern. My gauge was a little different than PetiteKnit's, so I knew that I would have to change things anyway.
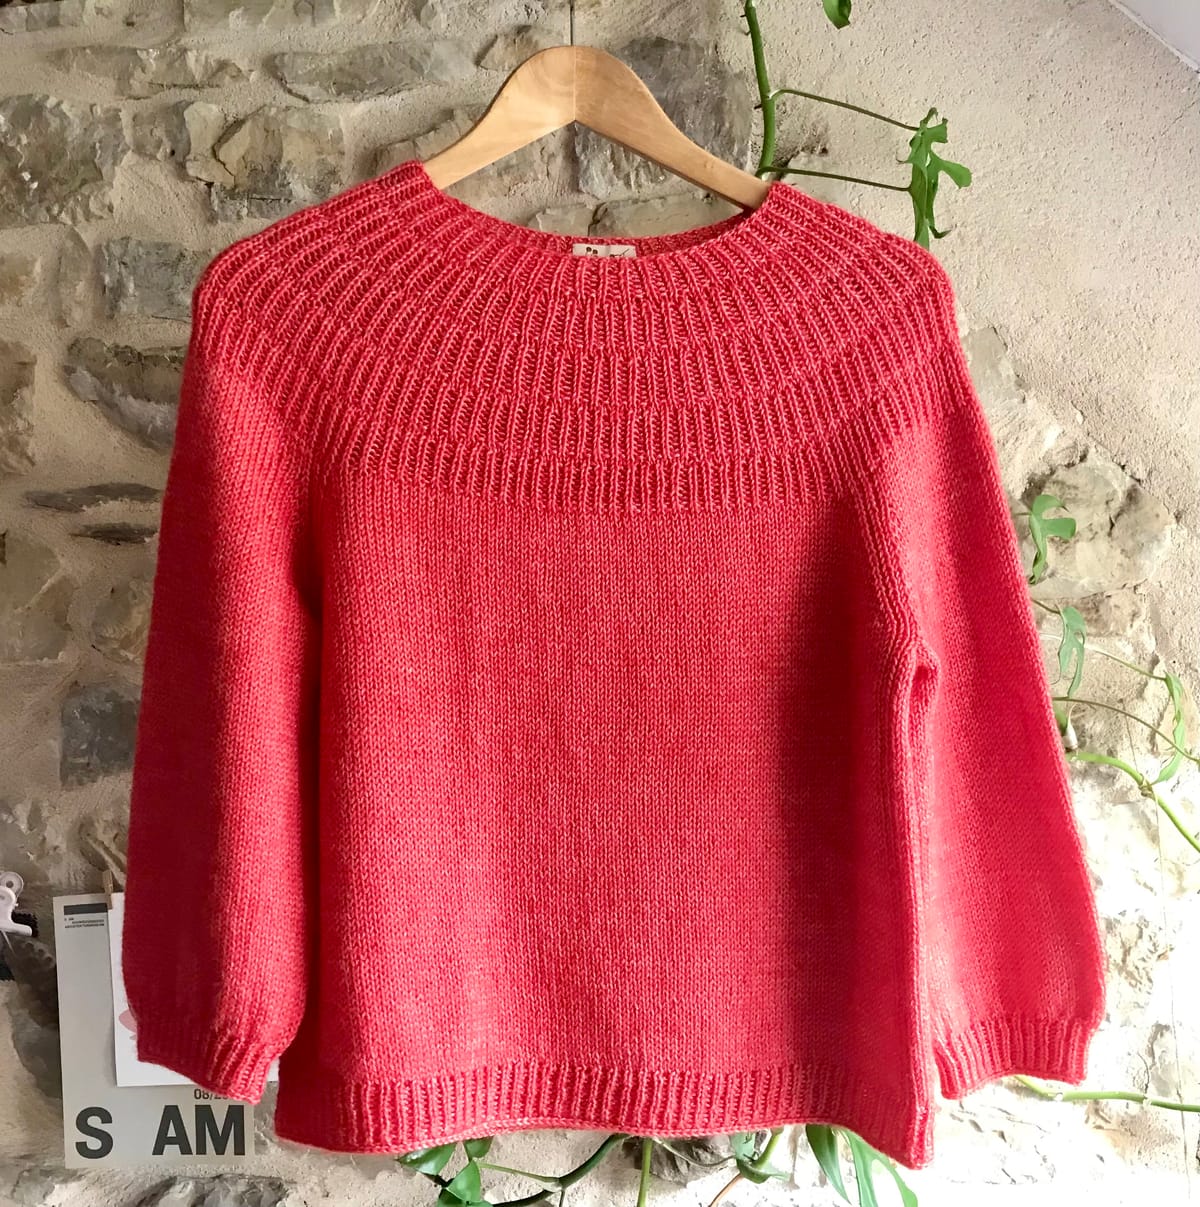
Below is the original Anker's summer tee by PetiteKnit:
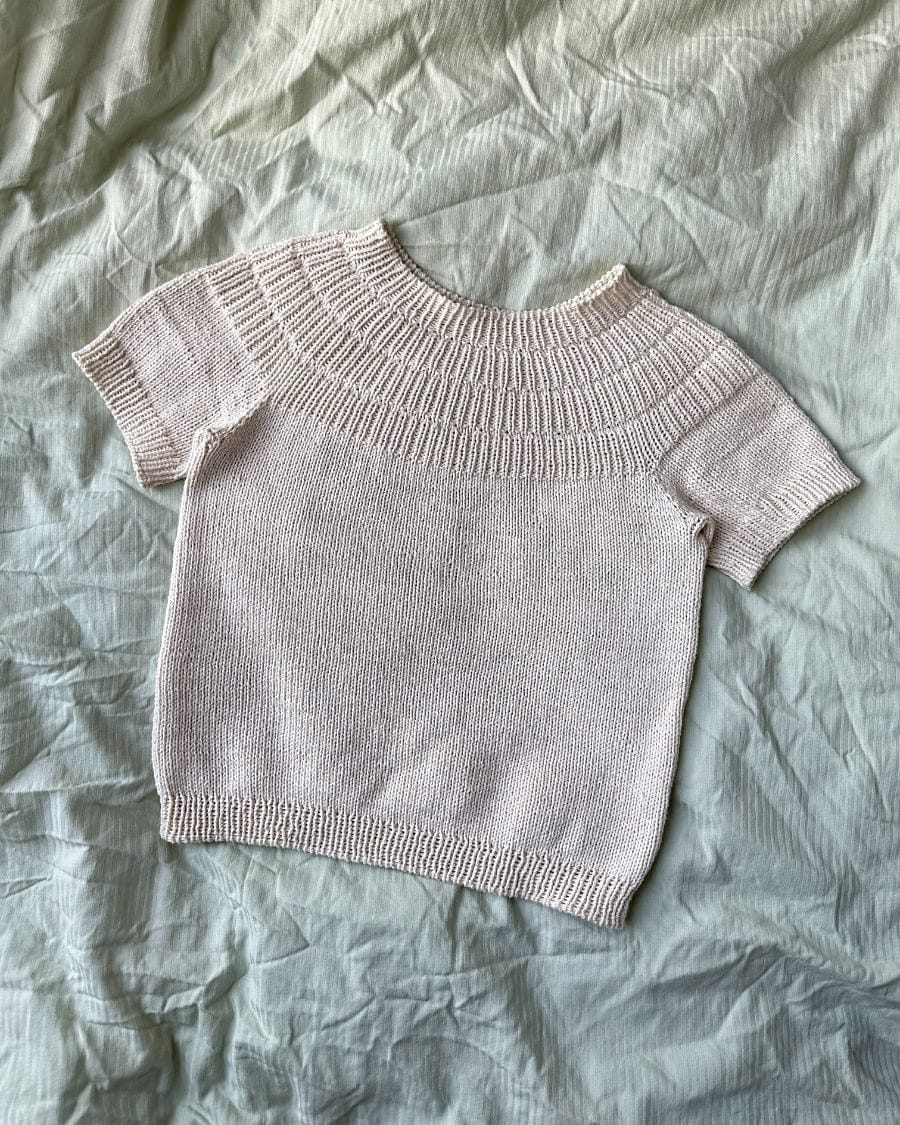
Visually, I knew right away that there were things that I wanted to modify just a tiny bit:
- I wanted to have the raglan increases aligned with a knit column. To achieve that, I needed to take this into account to choose where my increases would end up and what would be the rate of increase for the yoke.
- I didn't quite like the appearance of the raglan increases too, but I didn't think that they were horrible though. It's just that the enlarged stitch you end up with because of the make ones breaks the continuity of the knit column that I wanted to have. At this point, I told myself that I would decide when the time comes.
- I wondered if I wanted to make it with half twisted rib or not. After swatching it, and checking other Ravelry project pages, I figured that I prefered the look of normal rib, with my yarn at least.
I found that because twisted rib looks smaller, and more so with my super elastic yarn, it would appear less visually balanced to my eyes.
But I didn't want an untidy rib, so I needed to get those rib as perfect as possible. - Speaking of balance, I found the amount of rows by ribbing sections too long and that the rate of increase of the yoke was maybe too fast. There were also something about how random the increases felt, with vertical lines created by were the increases would be (probably not my most crystal clear explanation sorry).
I couldn't really get what I found problematic and I kid you not, I checked like 100 pages of Ravelry projects. Yeah I had too much time on my hands, what can I say? - Finally, I wanted to make some tests to change the look of the increases because I wasn't sold on the yarn over-knit into the back loop ones. I remembered Vanissia of The Wooly Worker saying in episode 32 that she found that they weren't that tidy and I agree, even if that depends on the yarn and how loose is your gauge.
The yoke
I first made this ridiculously long swatch (note that it's not wide enough if you want to get a precise gauge, but I didn't care that much for this project and I wanted to test the look of ribbing and increases).
15 rows + are missing on this picture because I kept frogging and reknitting this monstruosity to avoid having a 1 meter long swatch to block :
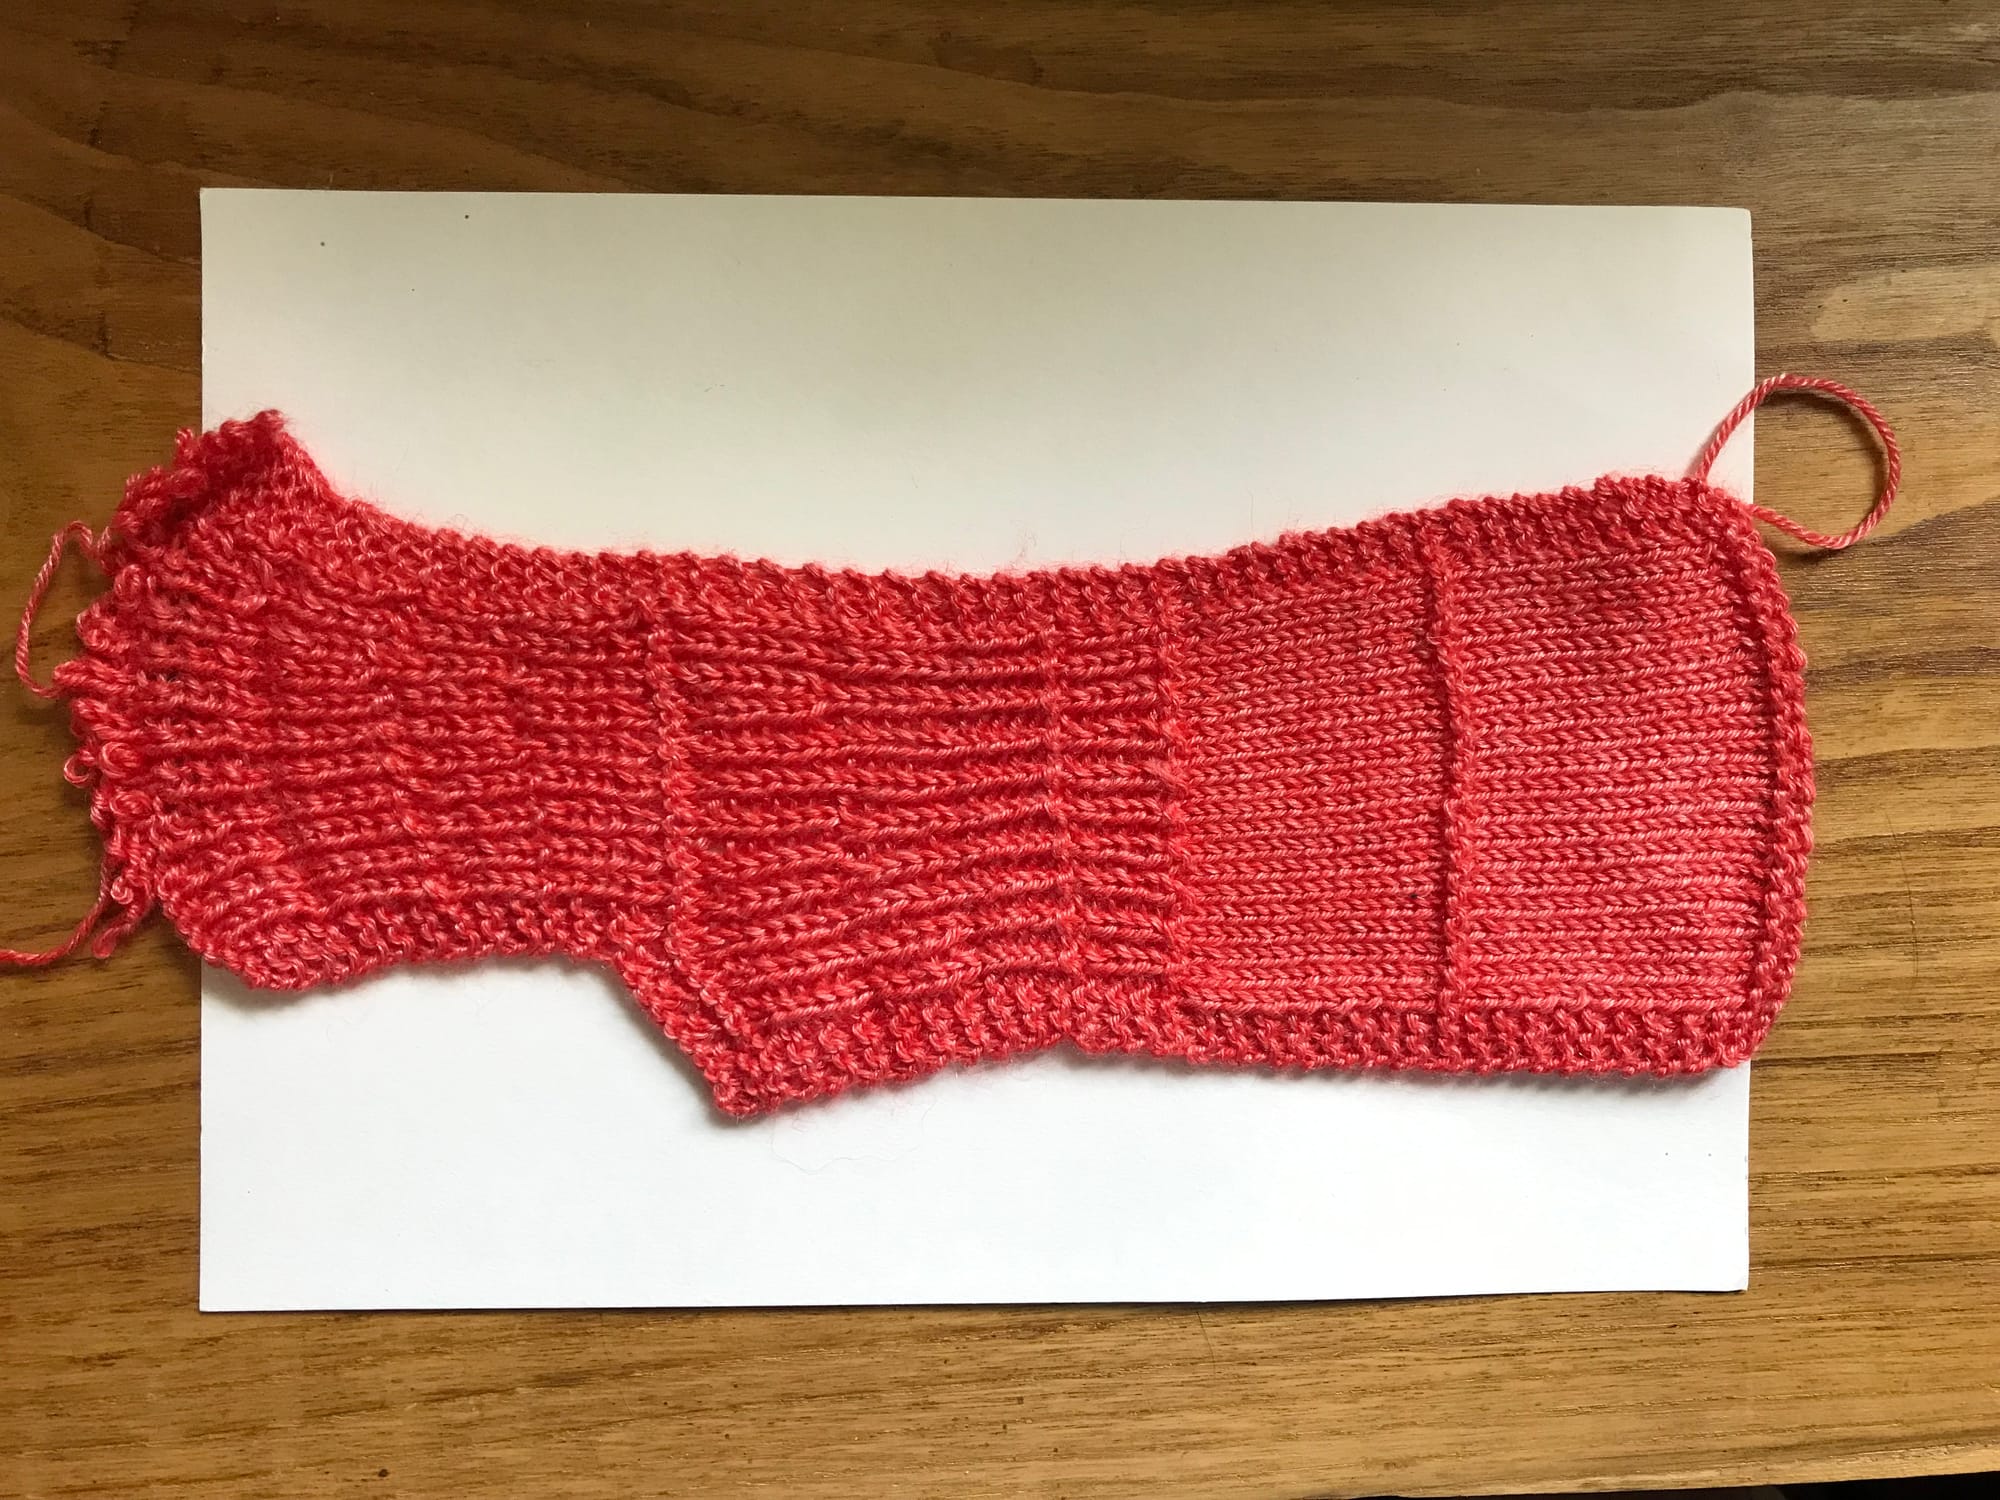
I first tried multiple ways to do the increases to avoid having the weird column of knit stitches. I wanted to try having the increases made with a knit stitch 'grow' into two with double increases, but I didn't like the result. I also tried lifted increases, make one increases, backward loop, etc.
I remember that at one point I thought about doing the horizontal separation between the ribbing sections to be purl rounds instead of knit rounds.
Then, I finally stopped this swatching frenzy to stick to how the increases in this pattern was made. Because I liked the original look of it, ffs!
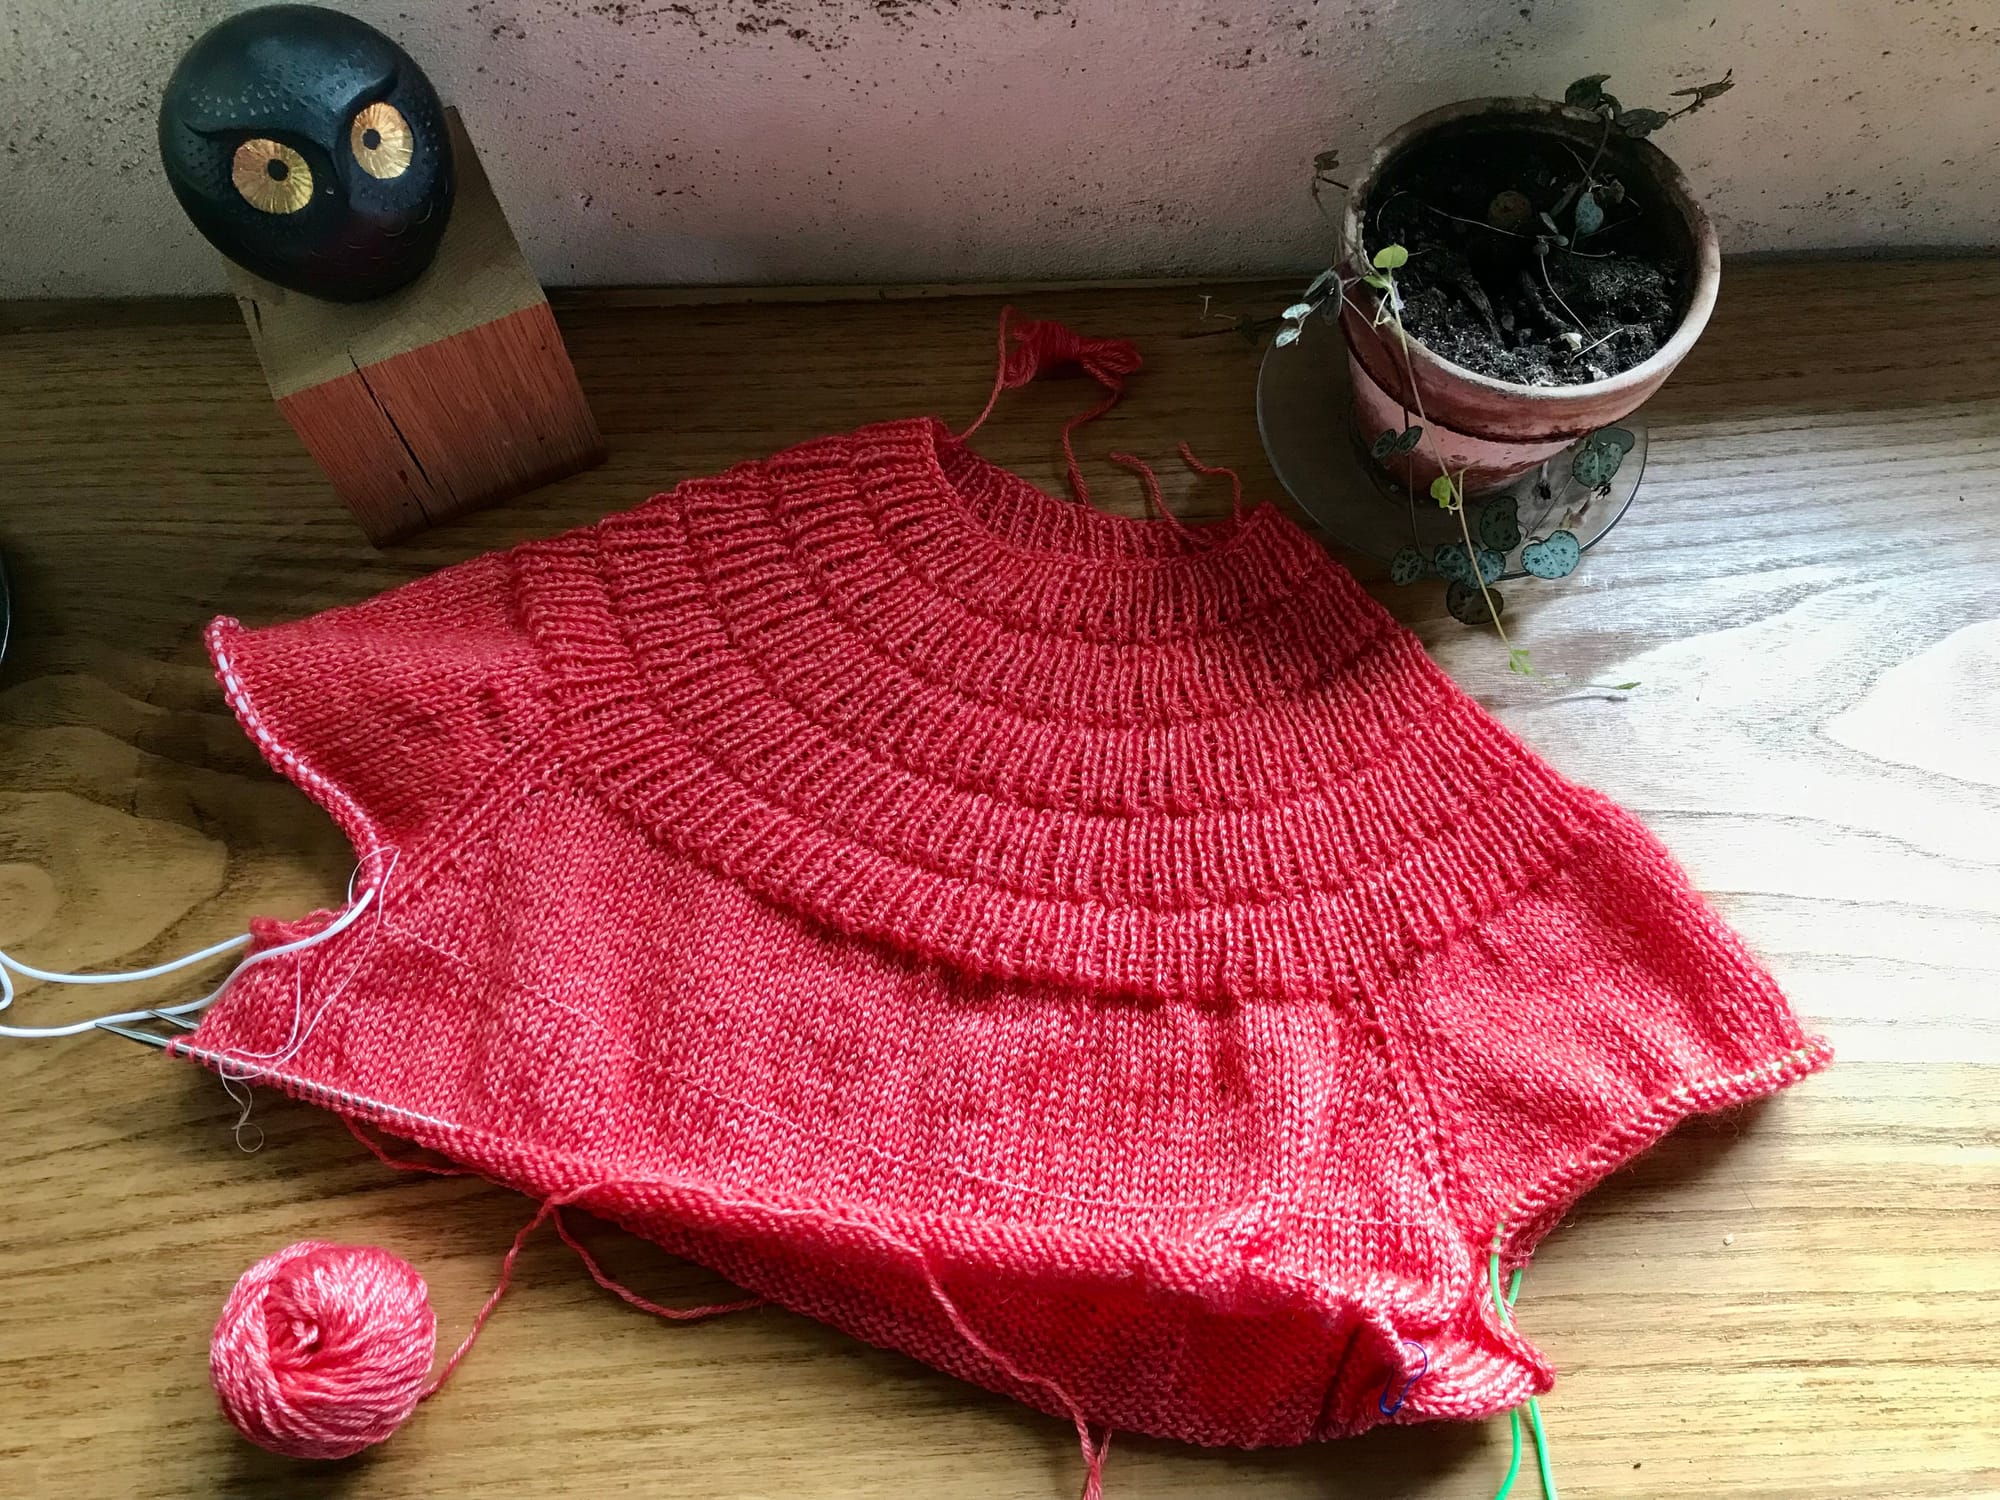
I wanted the ribbing to look neat. I know, like many of us, that it looks cleaner on the wrong side. So I knitted the yoke wrong side out by making a double stitch that I resolved later.
After making some calculations, I chose to reduce a bit the rate of increase. I began to increase every 3 sts on the 1st section, then every 4 sts, then 5 sts and finally 6sts.
I opted to do 8 rows for each ribbing section instead of what what instructed in the pattern.
Why 8 ? Well, I liked how it looked of course, but also all the other numbers that I chose were multiples of 8 and I'm always satisfied when I can make everything comes together nicely.
Note that I didn't follow the pattern's numbers.
What I did was : take PetiteKnit's numbers and do the maths to know at each key point (neck, after finishing round yoke increases, raglan increases) how many cm it would be in circumference and in length. Then, compare it with my gauge and my measurements to end up with a garment that would (hopefully) fit me.
Because I reduced the rate of increase and the number of ribbing sections, I added a ribbing section to have the length that I needed.
Did it visually changed drastically and did it changed the weird column line that I talked about above?
Mhh not really, but it made me kinda satisfied and I didn't want to fuss around too much by trying to make the thing too perfect. It was meant to be a quick and mindless project and I wanted it to stay that way.
Short rows
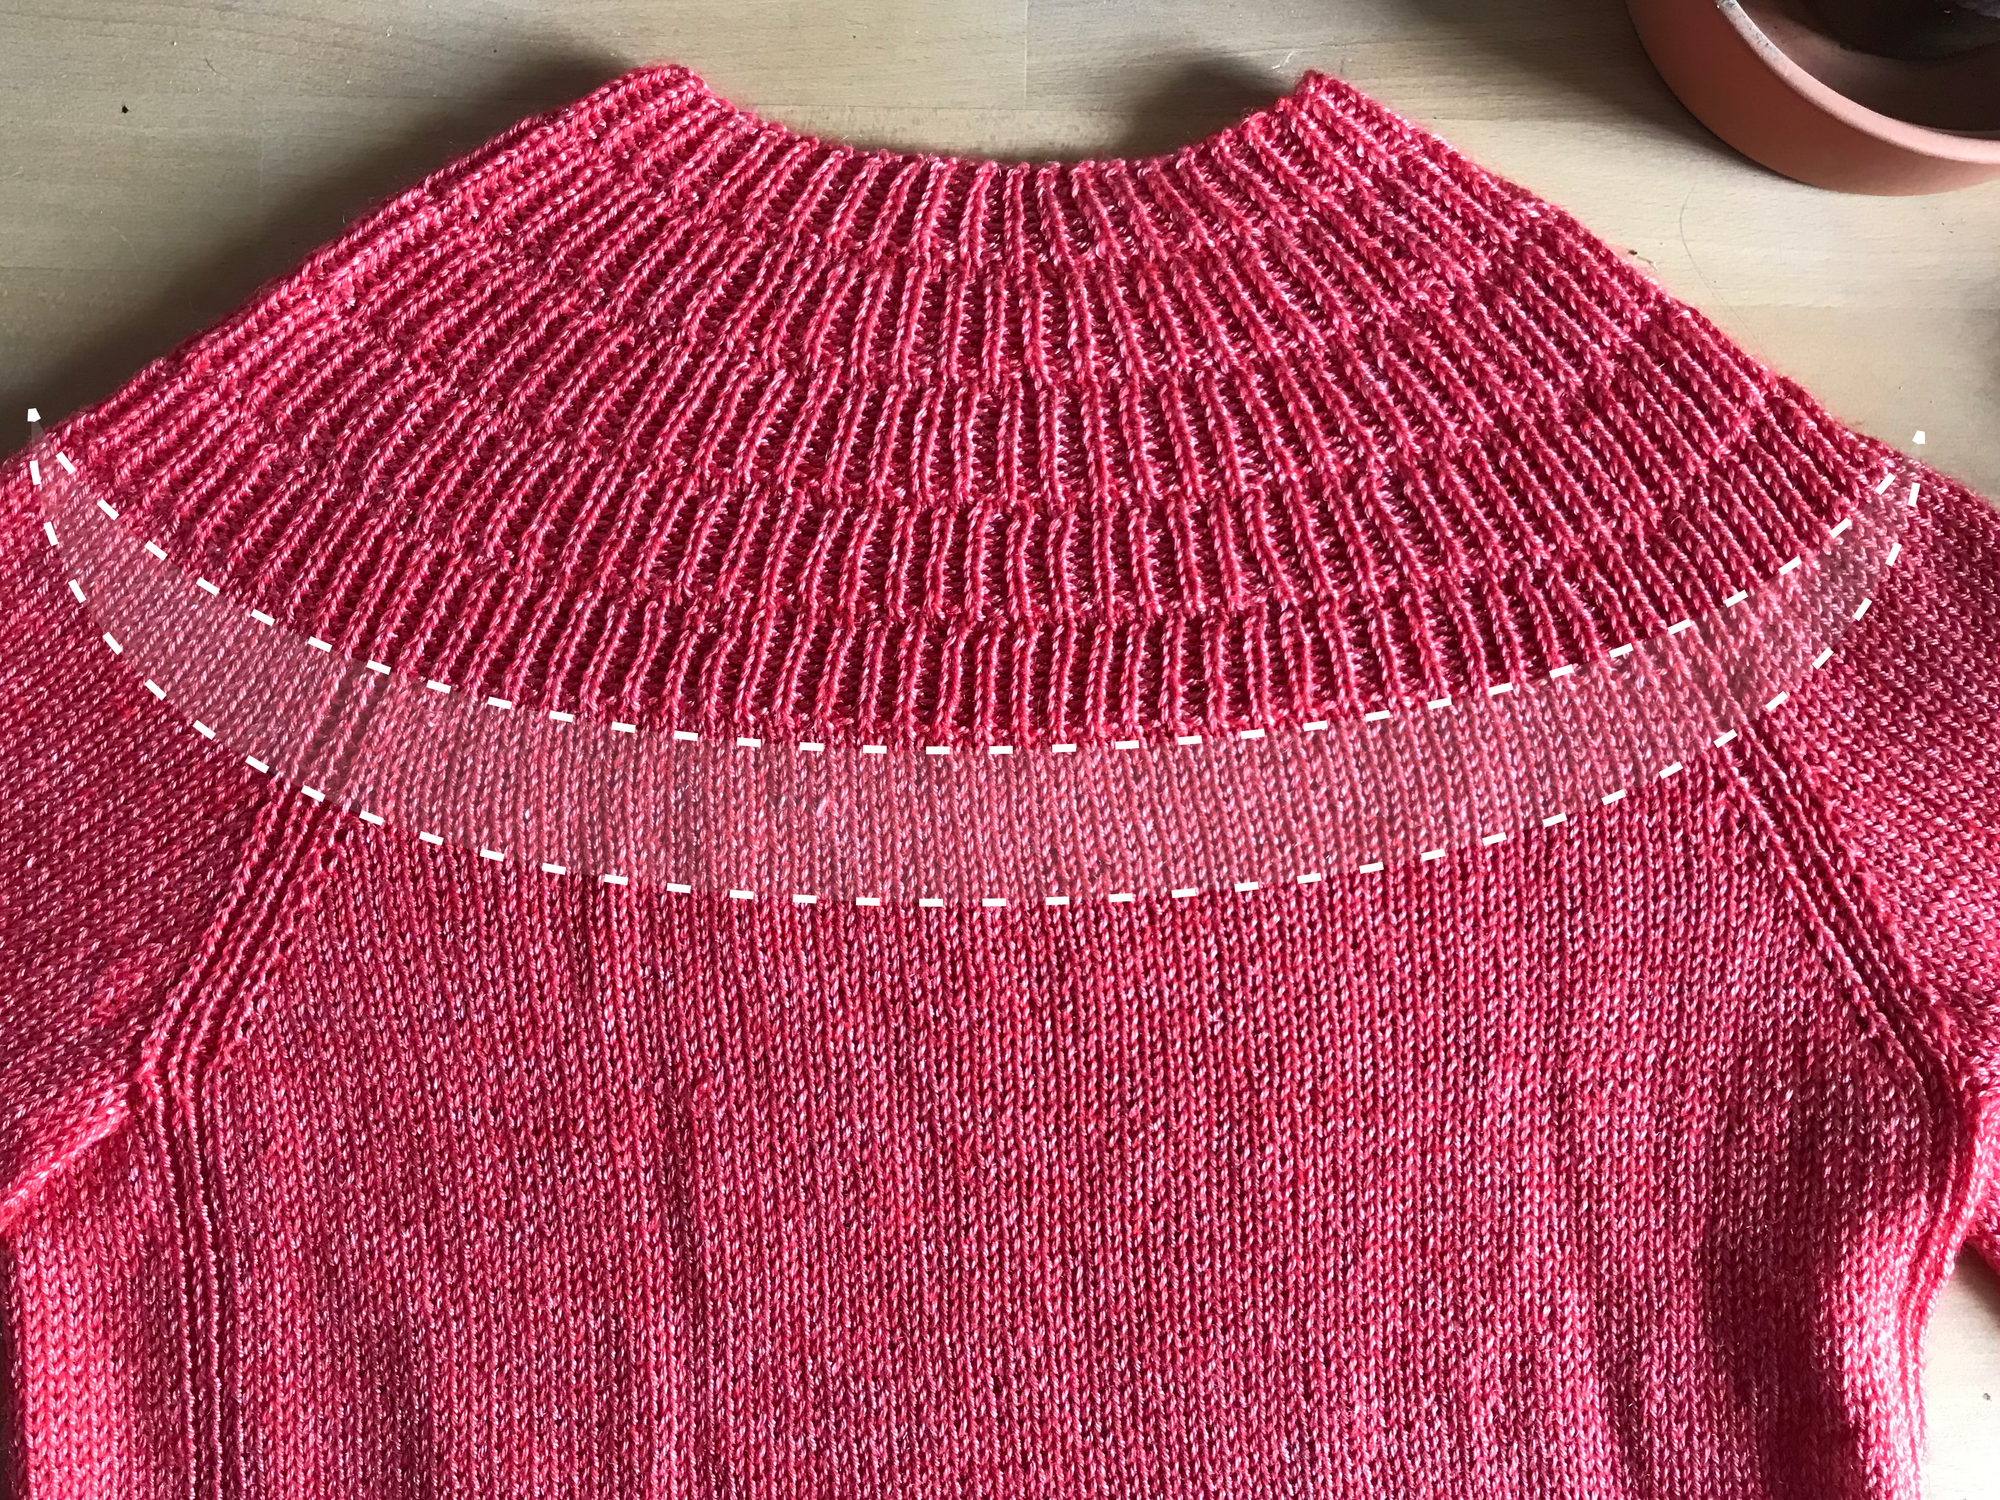
Who likes a sweater that keep riding up in your neck ? Well, some people don't mind but I do.
I like when the pressure is consistent around my neck like with turtlenecks, but something that keep pushing in one place is a big no-no.
So I added 8 rows of short rows just under the yoke because I didn't want to perturb the height of the ribbing sections. If you stare at it, you can see that the raglan increases on the back don't start at the same height than those on the front.
The raglan increases
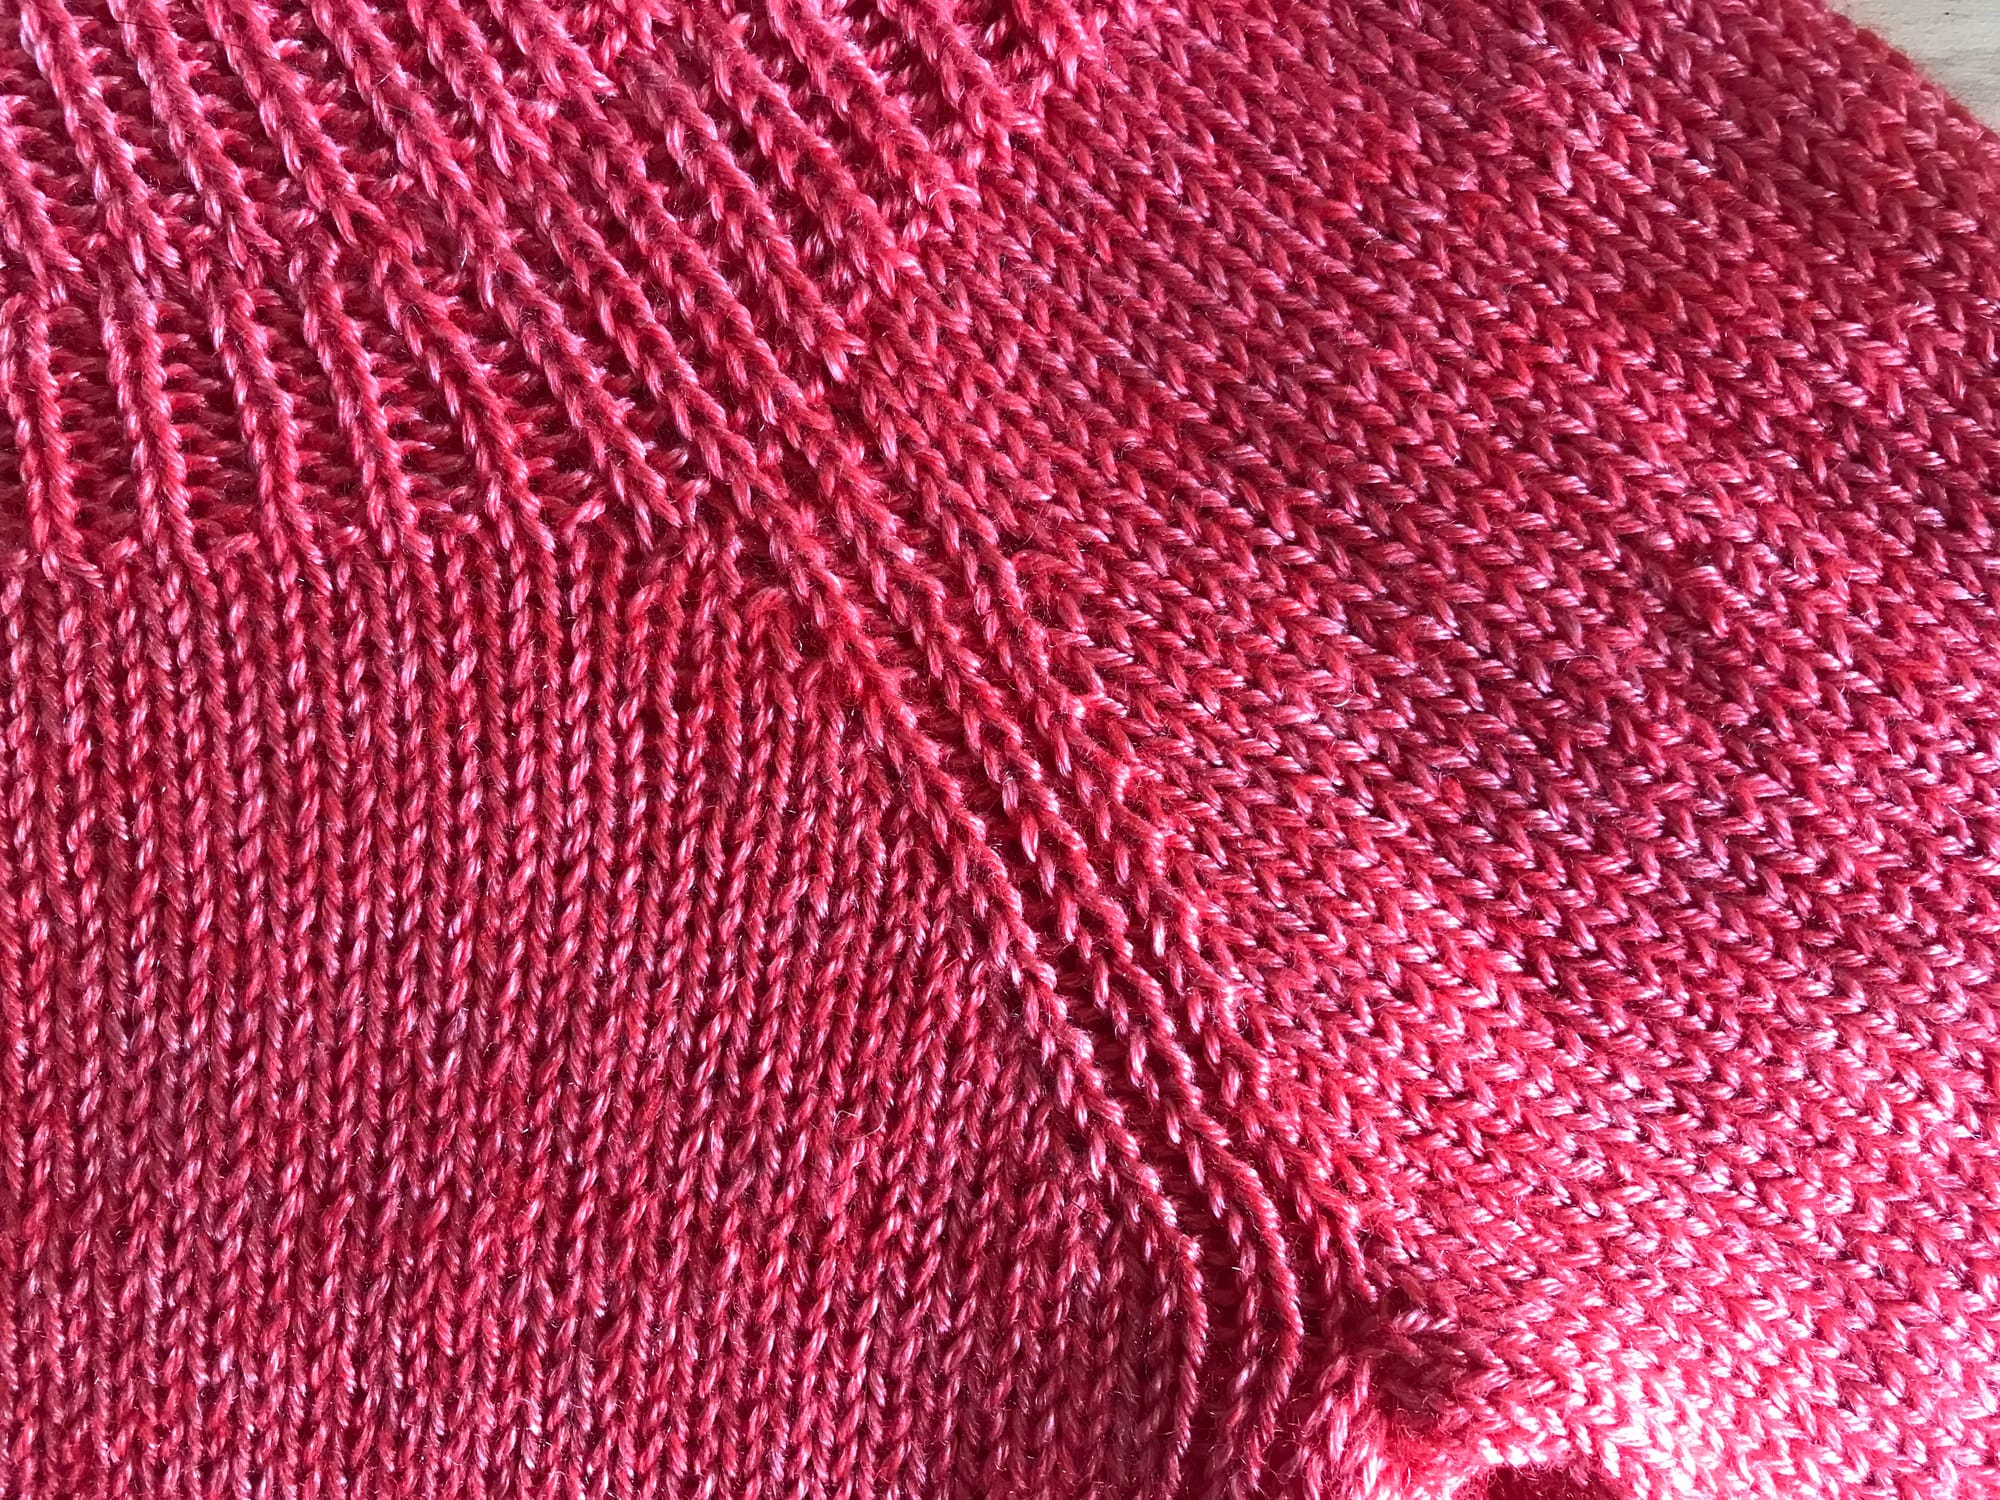
I made the decision to keep the motif of ribbing were the raglan took place and avoid the elarged stitch look:
Raglan inc motif rnd 1 : m1R, k1, p1, k1, p1, k1, m1L
Raglan inc motif rnd 2 : k2, p1, k1, p1, k2
The body
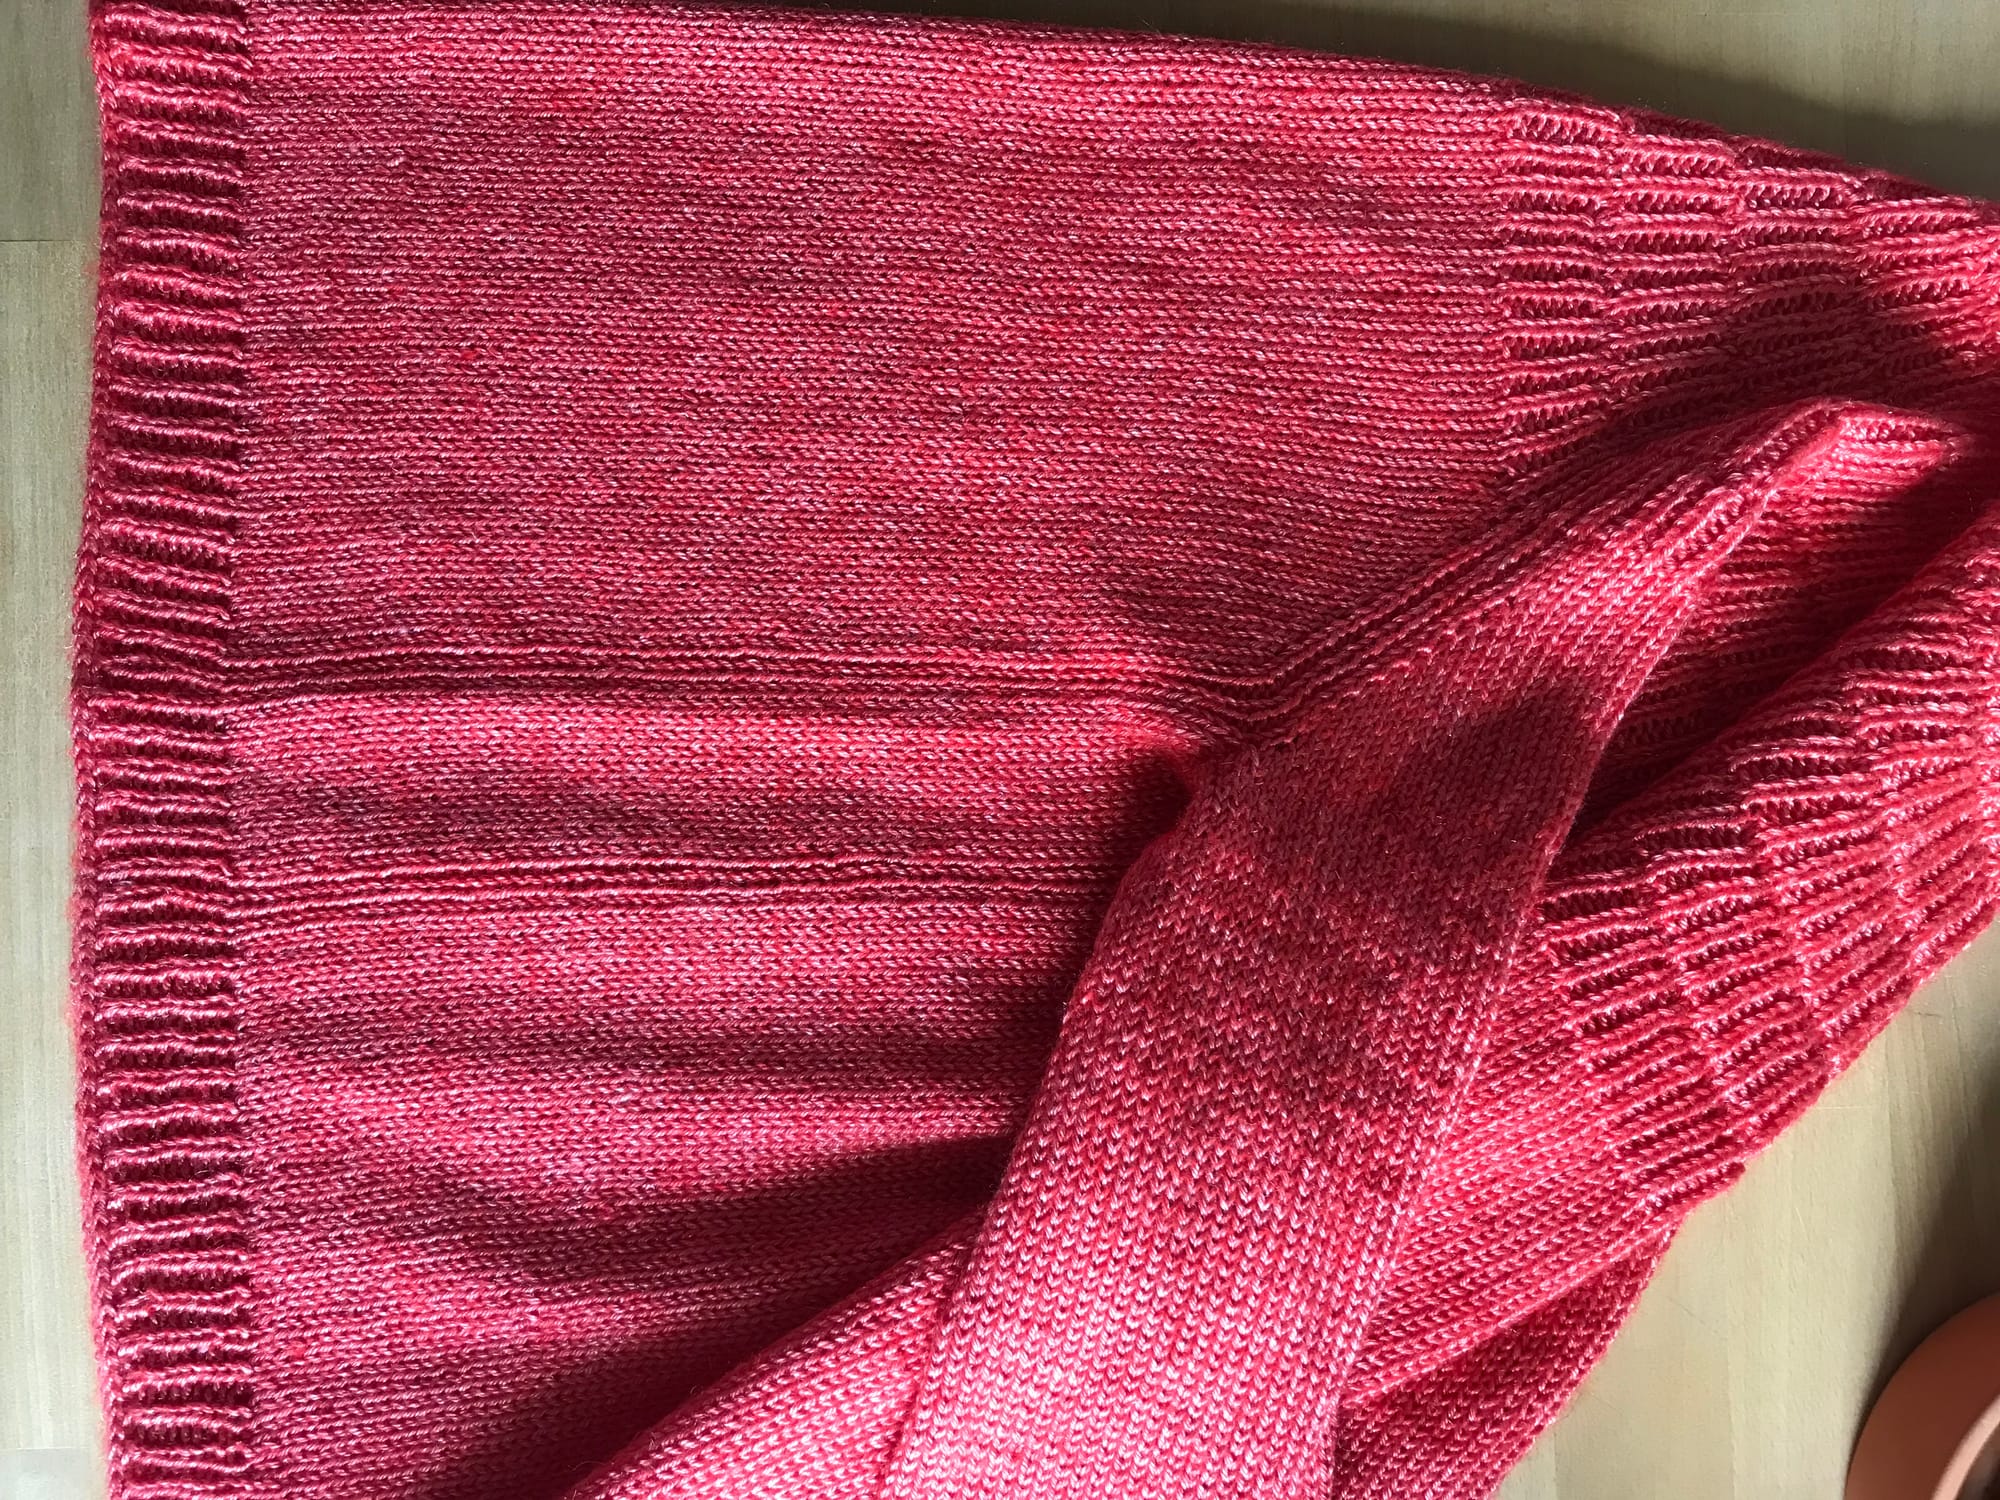
I continued to knit the raglan motif thorought the body to make a "connection" with the ribbing on the bottom. I didn't do any shaping because I didn't felt it was necessary.
The ribbing
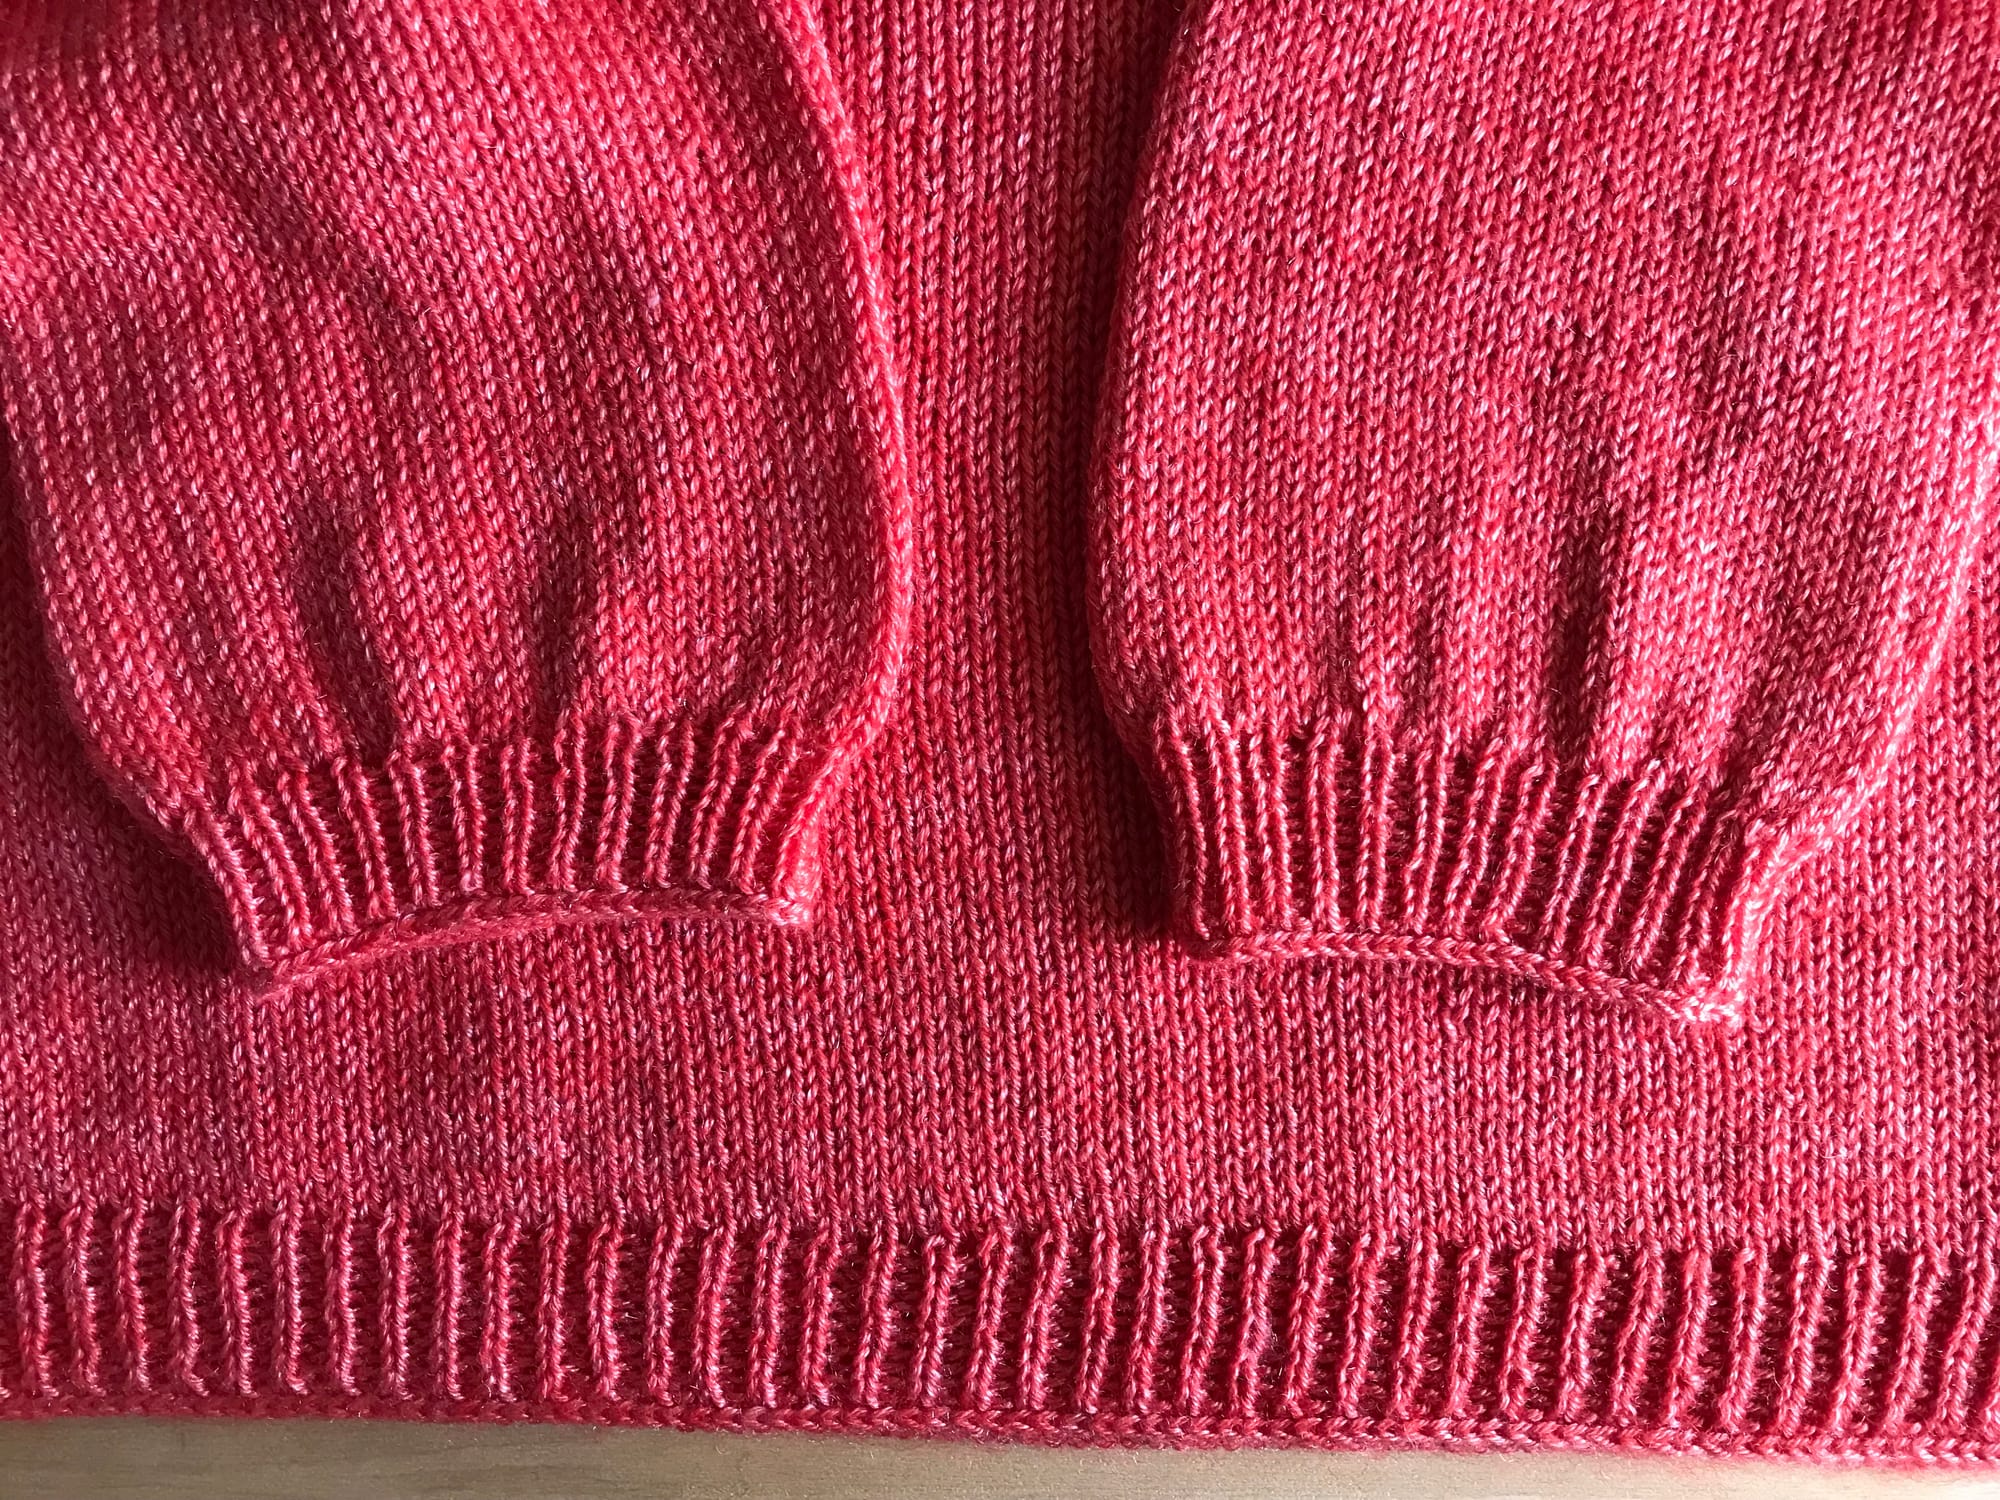
I wanted to finish the ribbing with an horizontal line, because I felt that I wanted to counteract all the vertical lines that the yoke had.
I knitted the ribbing with smaller needles (3,5mm / US 4), so the bottom would cinch in and add a tiny bit of "poofiness". Then I did one knit round before the bind off. I did that knit round because I wanted to have the ribbing more defined and not lost into the bind off if that makes sense.
I then did a regular bind off, but with a 2.5 / US 1.5 mm needle. I tried with a 3mm / US 2.5 needle but I had to rip it off because it flared too much.
The sleeves
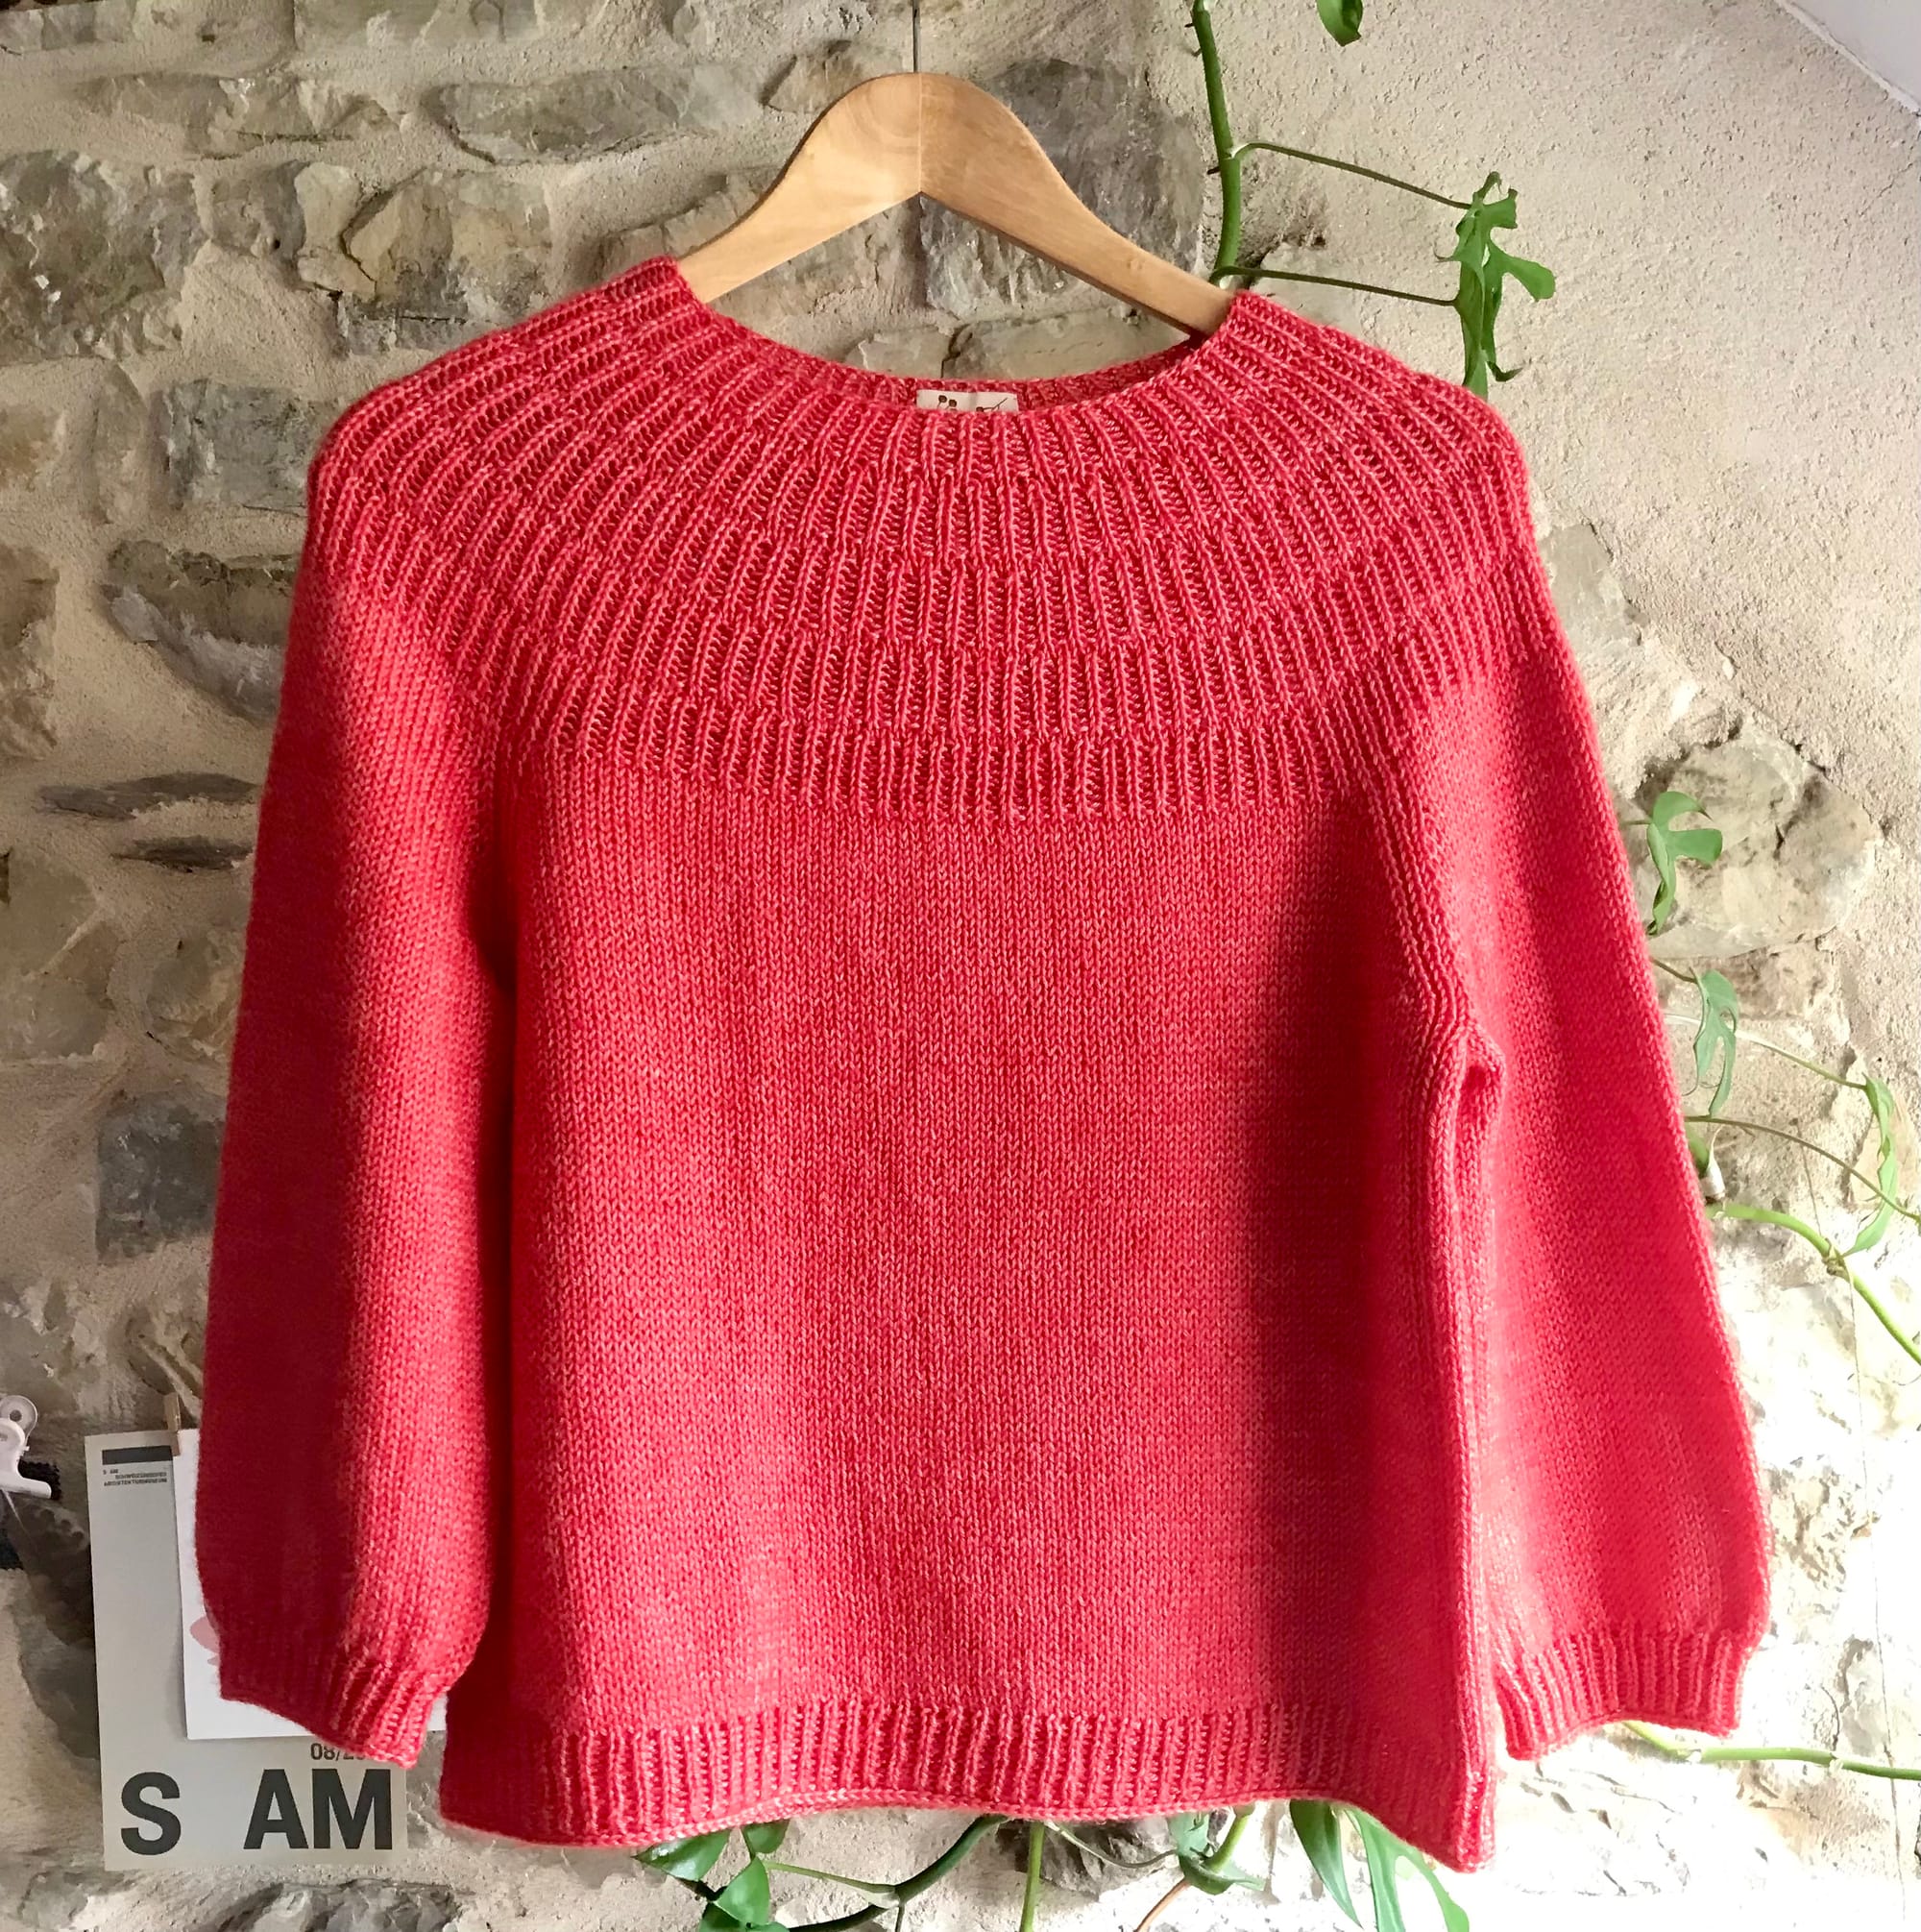
I just knitted them straight and decided to stop at an elbow length, partly due to the fact that I do not find this yarn particularly suitable for a tee, and that I didn't want to have too much yarn left.
I didn't have enough to make a full sweater anyway, even if I played hardcore yarn chicken. When I reached the elbows, I measured the circumference of my arms where the sleeve would end and made a quick calculation of how many stitches I would need with my gauge.
I then proceed to make decreases and the ribbing and bind off, just like I did on the body.
Conclusion : So, it's finished ?
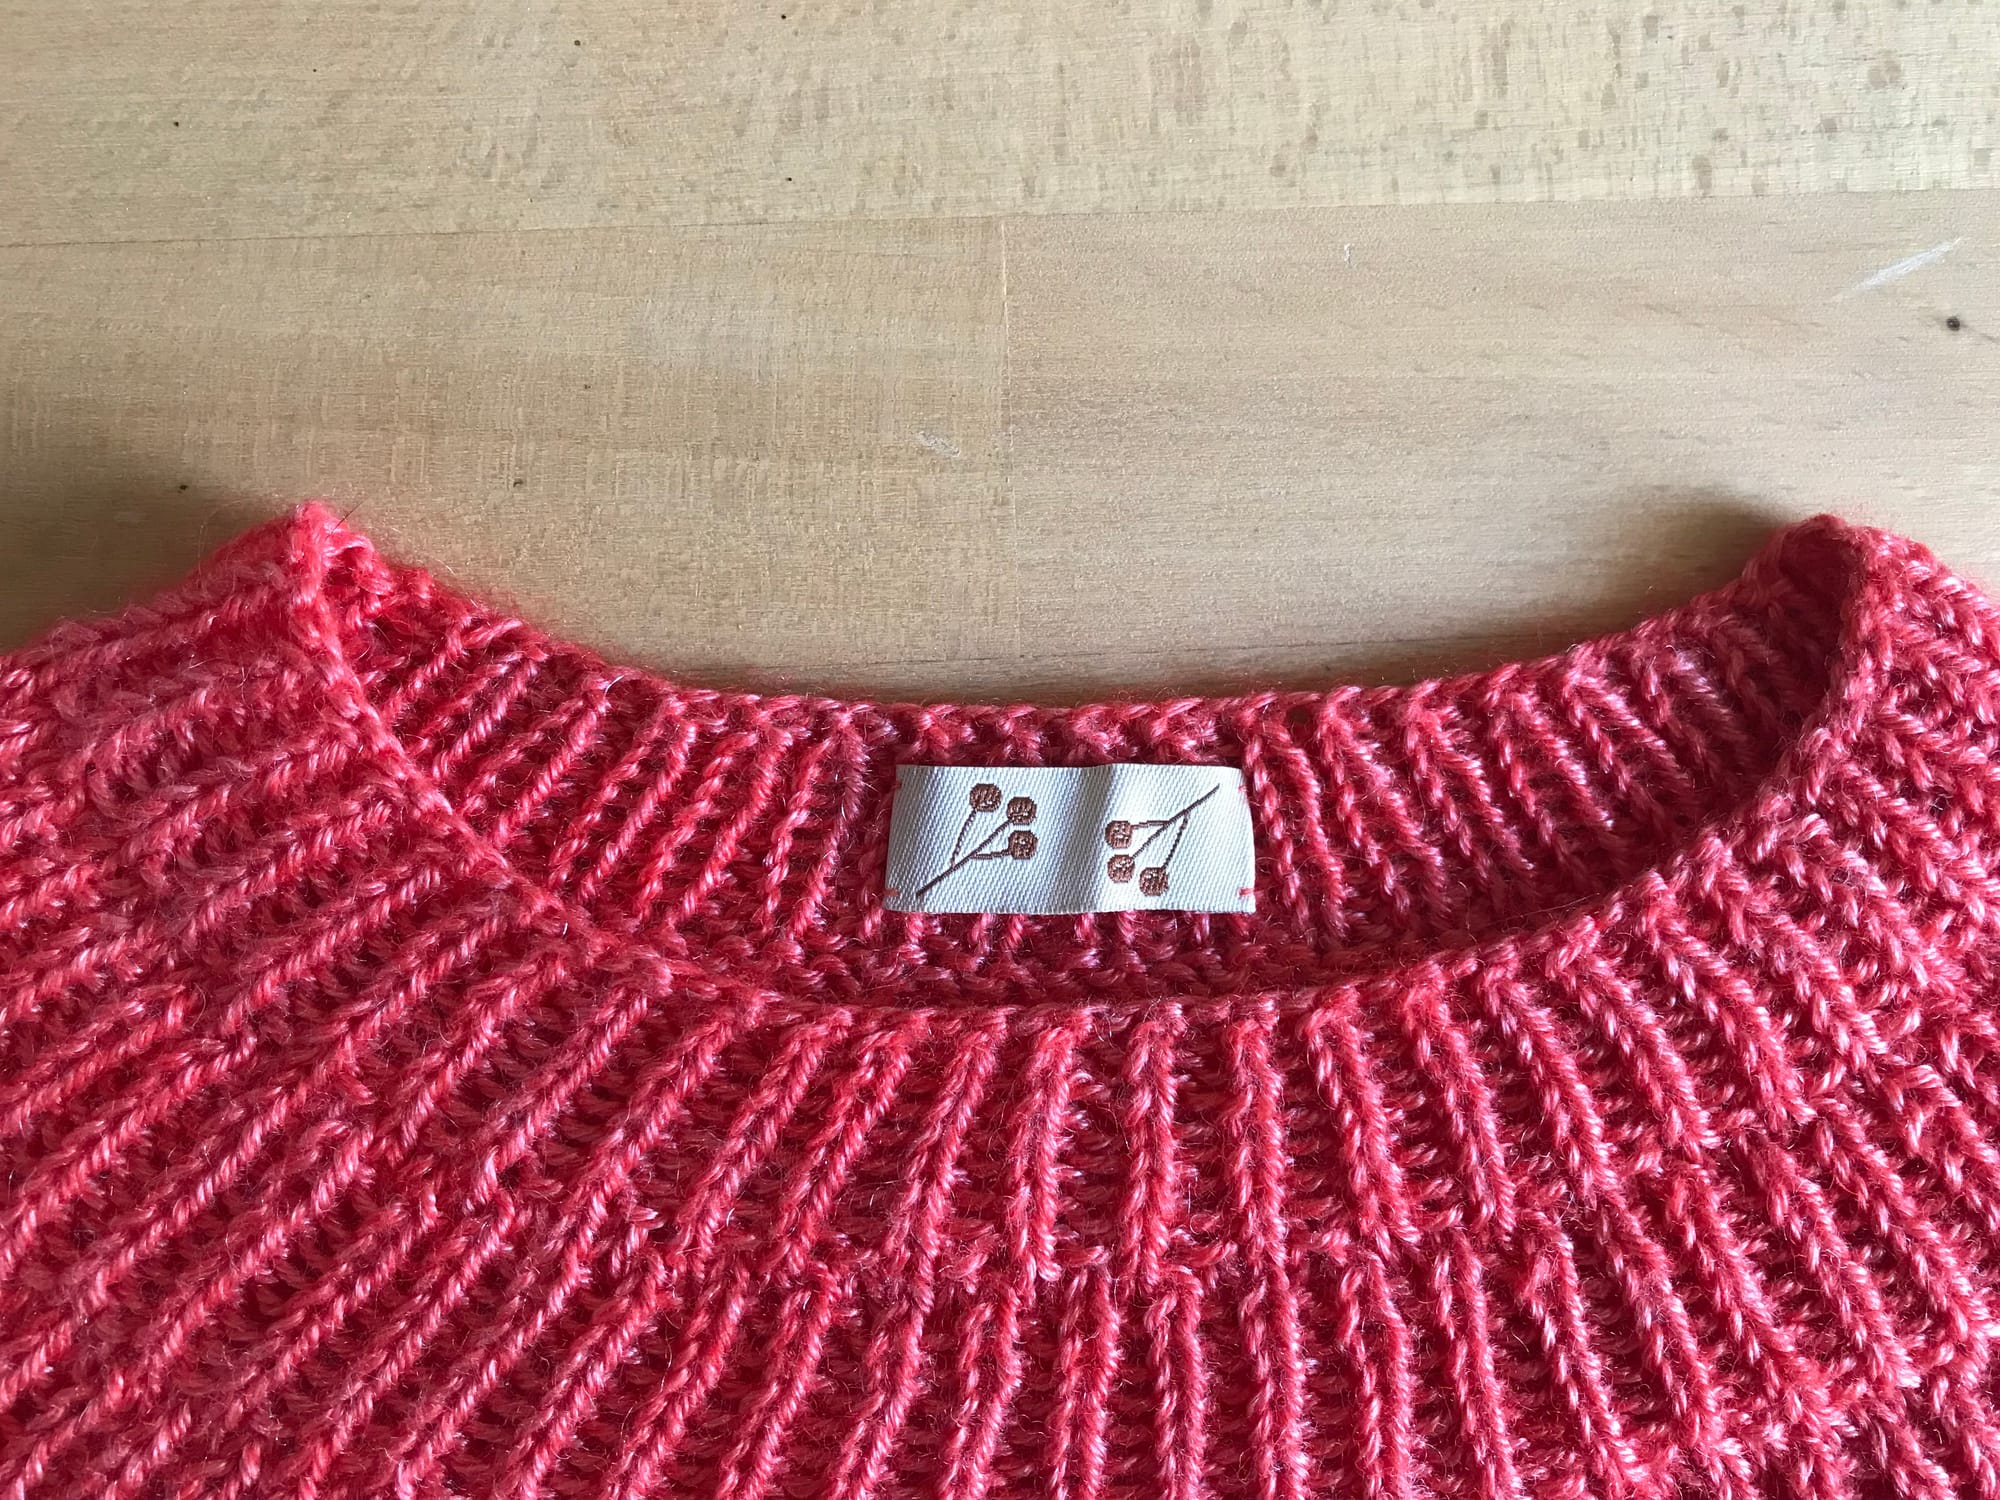
Yeah, technically. But I'm still unsure about one thing : the neck finishing. The horizontal lines made by the bind off on the body and sleeves made me want to try to do the same thing on the neck. For now, it's the original twisted cast on, because I couldn't find a way to pick up stitches and make is so that it mimics the knit round followed by the cast of.
But I don't know, I feel like it misses something. I tried to pick up stitches and cast of the picked up stitches but I'm losing the elasticity that I really need. I also tried with a crochet hook but I'm not really fond of the looks that I get. It might totally be because I'm as agile as if you gave a slug a crochet hook when it comes to crochet. Yeah, I need to work on that.
As for the pattern, do I recommend it ?
I like how the garment looks. But as for the pattern, because I mostly just followed the structure of it and measurements I don't feel that I can tell you anything with confidence on how good it is written.
What I can tell you though, is that it is a very simple construction and that PetiteKnit tends to really explain things in details.
Also, there's almost 9000 projects on Ravelry so that's a pattern that has been heavily read and tested in a way.
Thank you very much if you've read until this point :)
If you made this pattern or have an opinion on it, I would be happy to read it. Don't hesitate to contact me by commenting here, or on social media (Instagram or Ravelry)!
The masked owl
Next up : I think I'll make a detailed post about the yarn I used for this project.
